


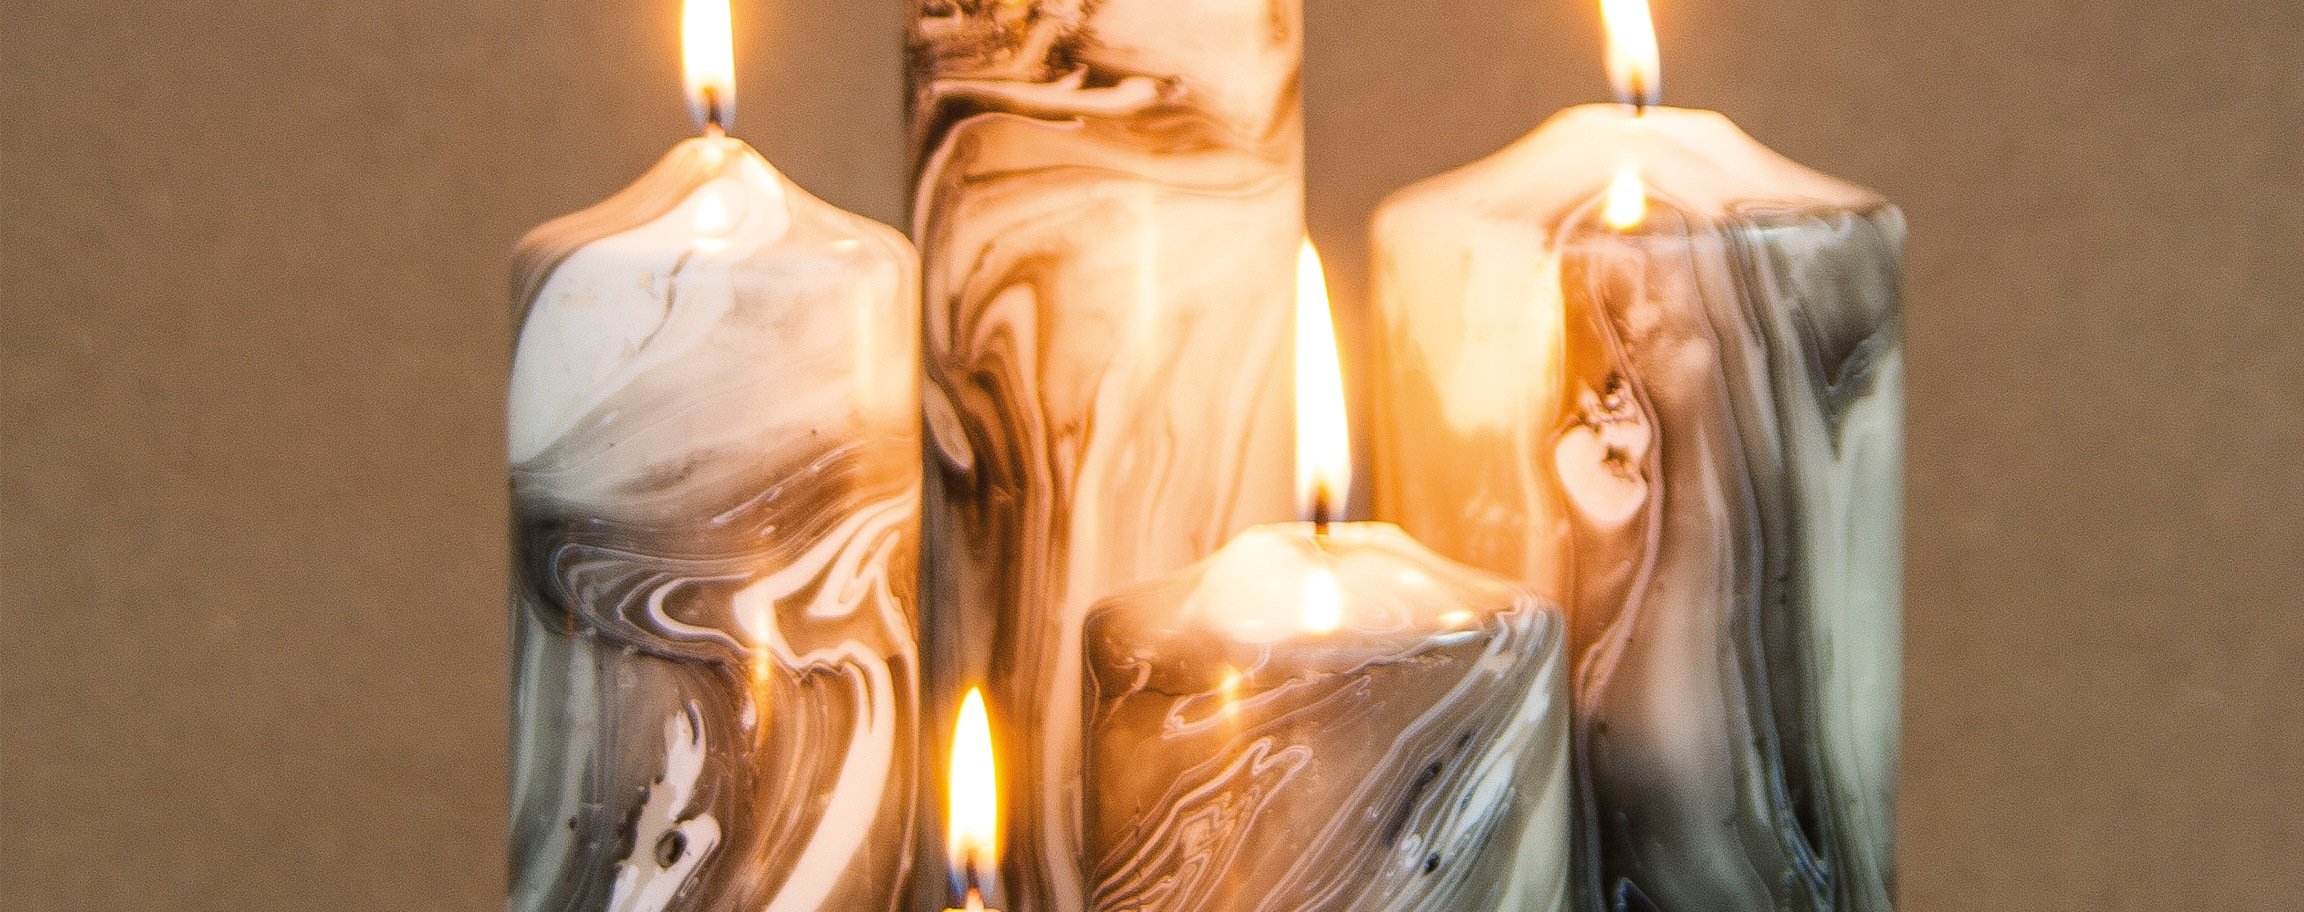
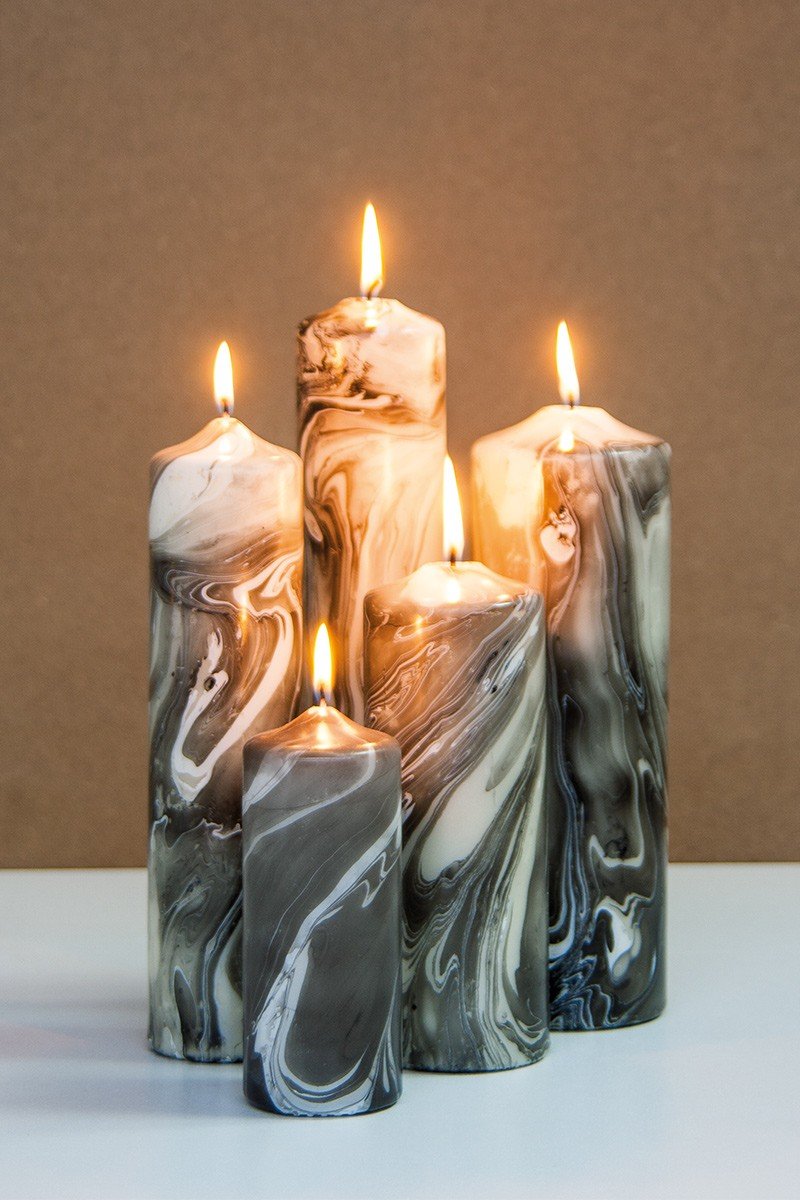


Instructions in 3 steps Simple and impressive - pour the marble effect paint drop-by-drop into a water bucket and stir the colours with a wooden skewer. Then simply swipe the candle over.
Besides the articles listed below, you also need: Plastic bucket, Copy paper, Disposable gloves
And this is how it works: 1 ![]()

Step 1
Choose a plastic bucket that is enough large/deep to dip the candle completely into it. Then, fill the plastic bucket with cold water. Thereafter, shake well the paints, especially the silver one, since this colour-shade contains metal particles. Drip the three colours successively as near to the water surface. Then immediately draw the marble pattern with a wooden skewer.2 ![]()
Step 2
Immerse slowly the candle, retain it that way for a while and before taking it out, puff a bit onto the water surface so that the paint flows to the edge. Let the candle dry out for about 30 min.3 ![]()
Step 3
Remove the paint residues with a sheet of paper (with the edge of the paper). The water must be clean for a further marbling. If heavily soiled, use fresh water.Related craft ideas Looking for similar craft ideas? You can find them here: ![]()
![Difficulty -]()
![]()
![Difficulty -]()
![]()
![Difficulty -]()
![]()
![Difficulty -]()
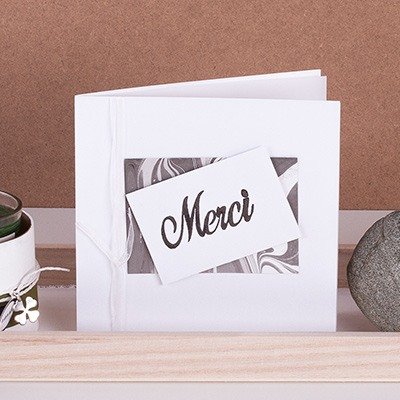
Marbled card „Merci“ with organza ribbon
DIFFICULTY

Marbled card B6 „Merci“
DIFFICULTY

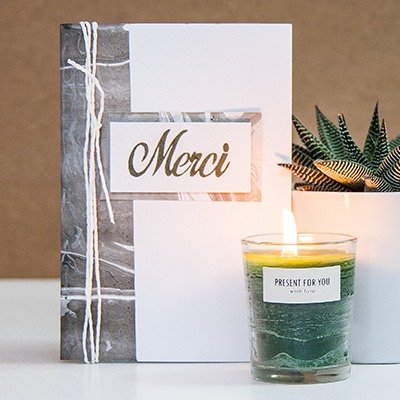
Green decorative candle with a white leaf
DIFFICULTY

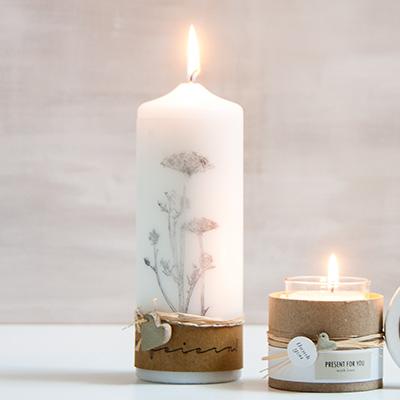
Candle „Yarrow“
DIFFICULTY