


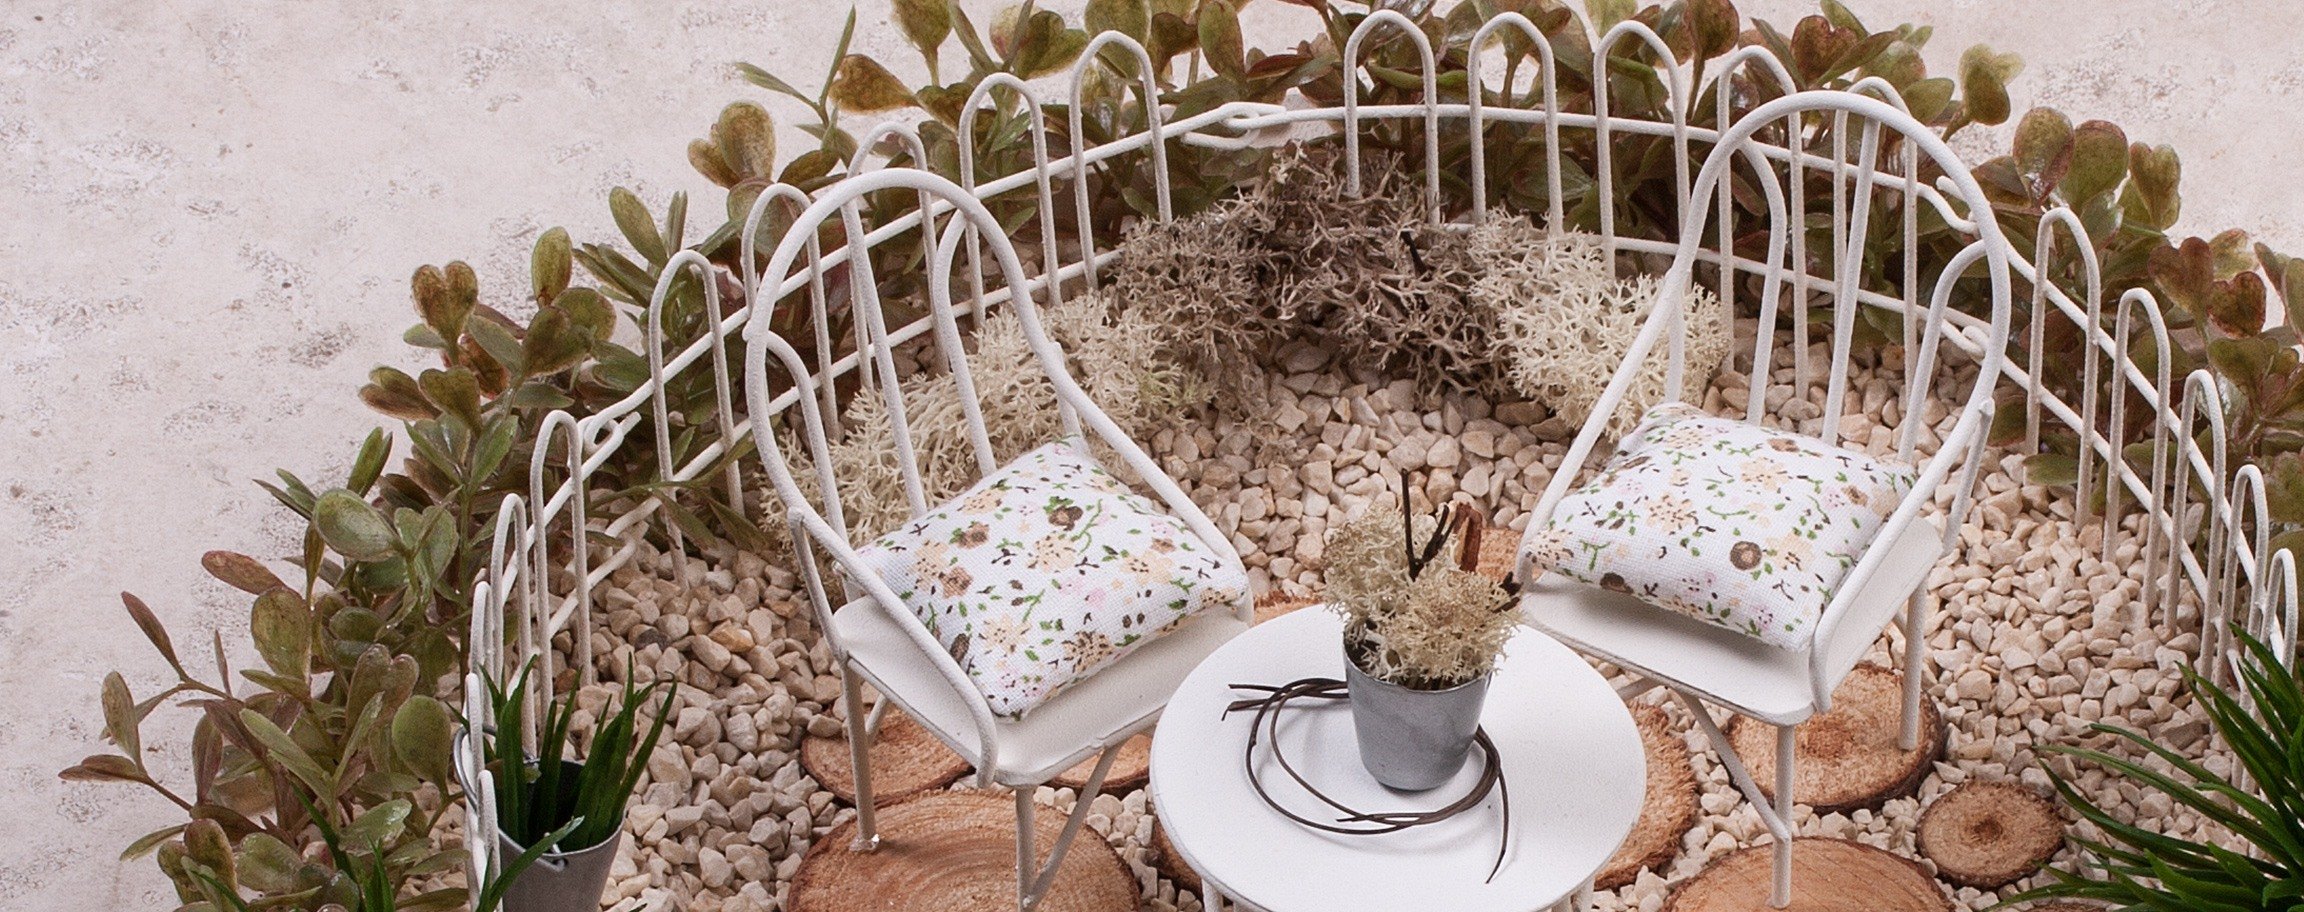


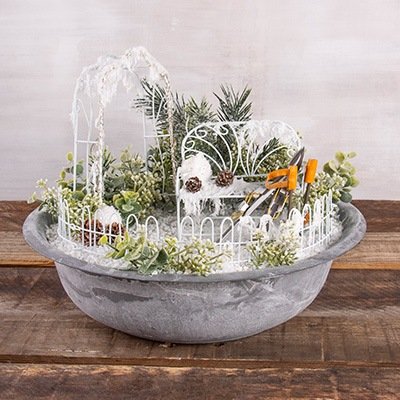
Instructions in 6 steps Decorate the finished wooden tray with all kinds of mini garden accessories. And this is how it works:
1 ![]()

Step 1
Place the pine-slices centrically on the tray and affix them with the hot glue.2 ![]()
Step 2
The remaining inner side of the tray has to be coated with the hot glue by means of the flat brush, then scatter the granulate across the tray.3 ![]()
Step 3
Now leave the tray to dry out and repeat this procedure until the granulate has reached the height of the pine-slices.4 ![]()
Step 4
Sink the iron fence semicircularly into the granulate until it still “soft” is. Then let it dry.5 ![]()
Step 5
Affix the decorative plants (vanilla grass, mini box tree branch and natural iceland moss) at the border of the tray with the hot glue.6 ![]()
Step 6
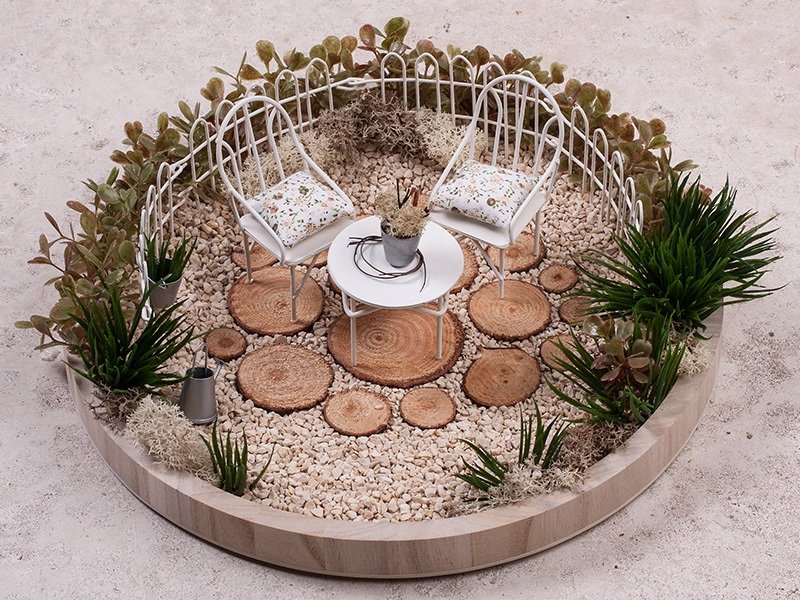
Now decorate the tray with the garden sitting set, watering can, bucket and flower pot, and secure all with the hot glue.Related craft ideas Looking for similar craft ideas? You can find them here: ![]()
![Difficulty -]()
![]()
![Difficulty -]()
![]()
![Difficulty -]()
![]()
![Difficulty -]()
Long wooden tray
DIFFICULTY


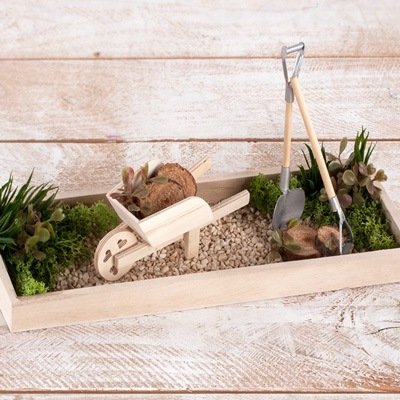
Wooden drawer with mini-garden
DIFFICULTY

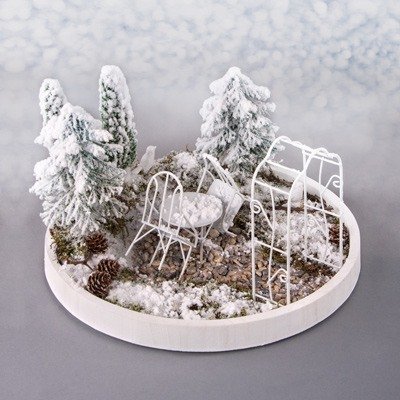
Winter Minigardening
DIFFICULTY
Mini winter-gardening
DIFFICULTY
