


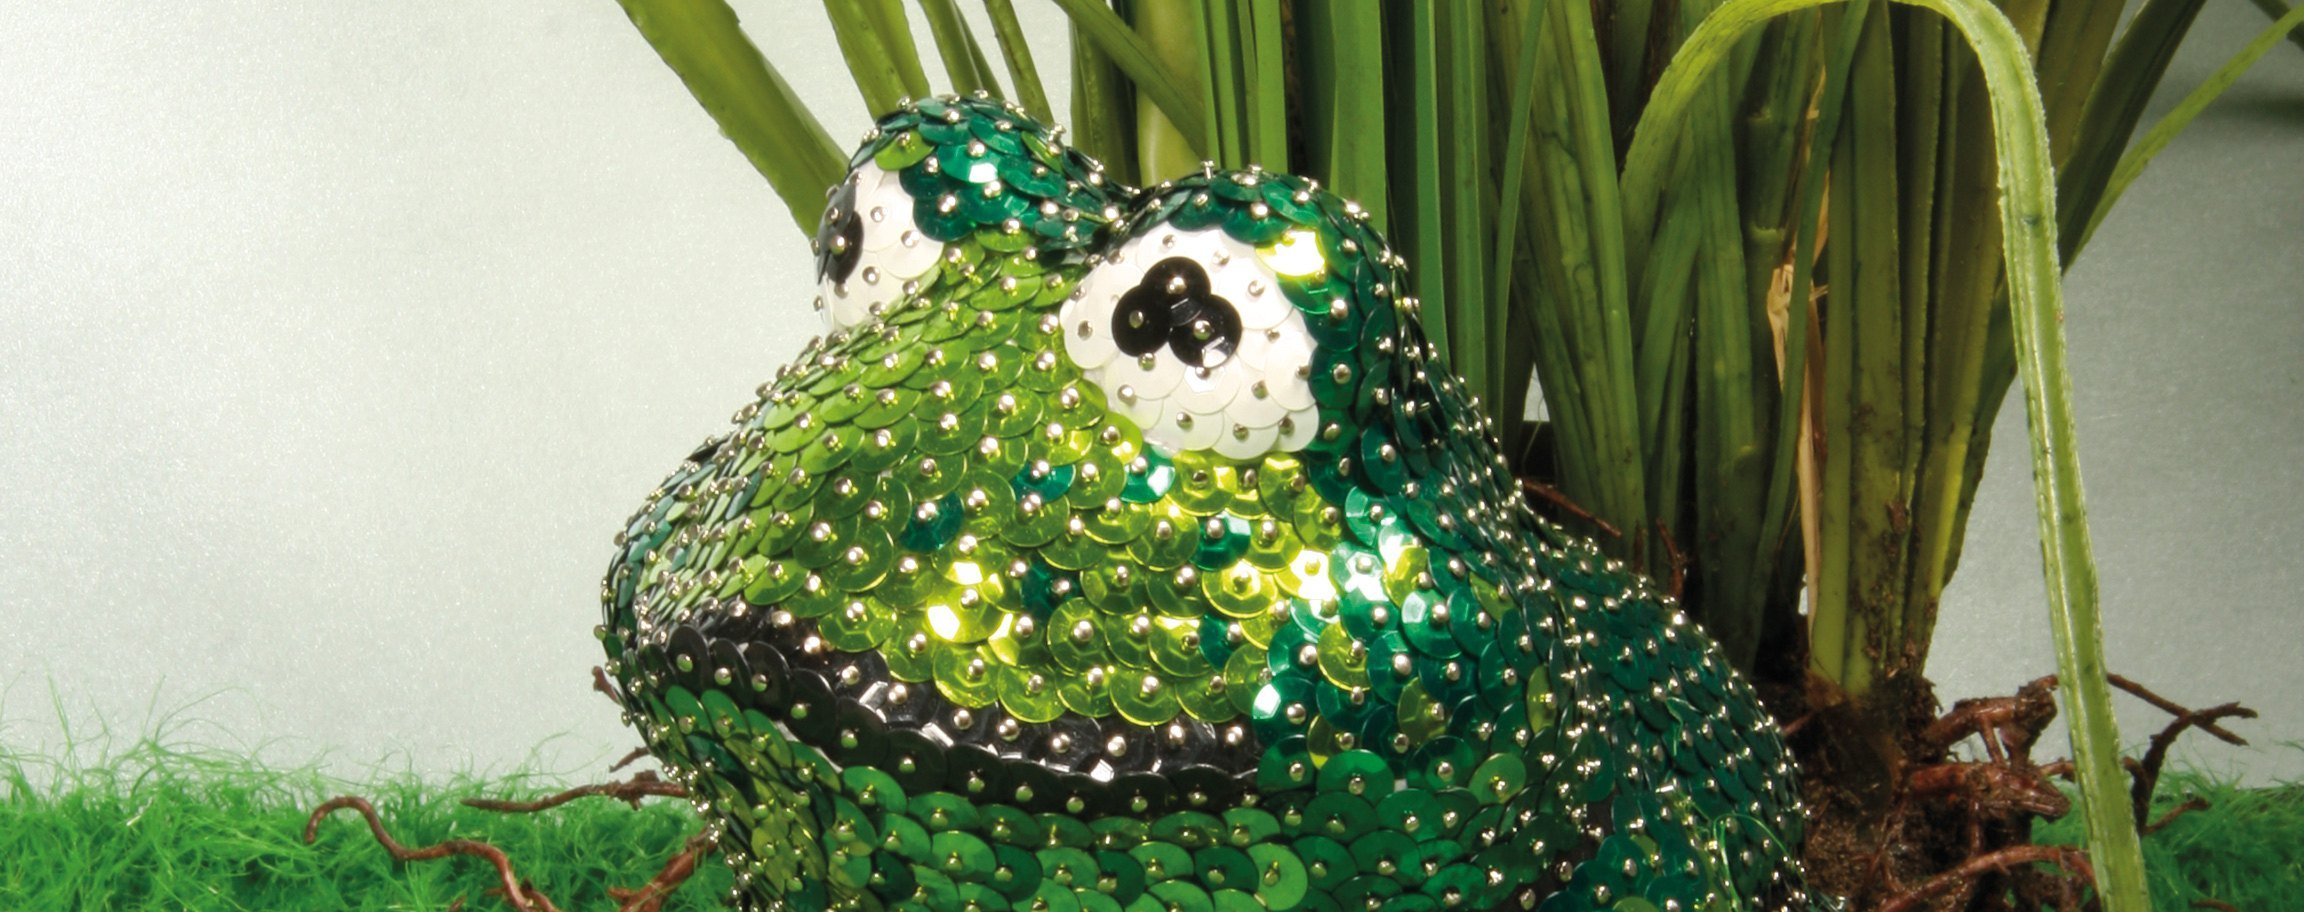
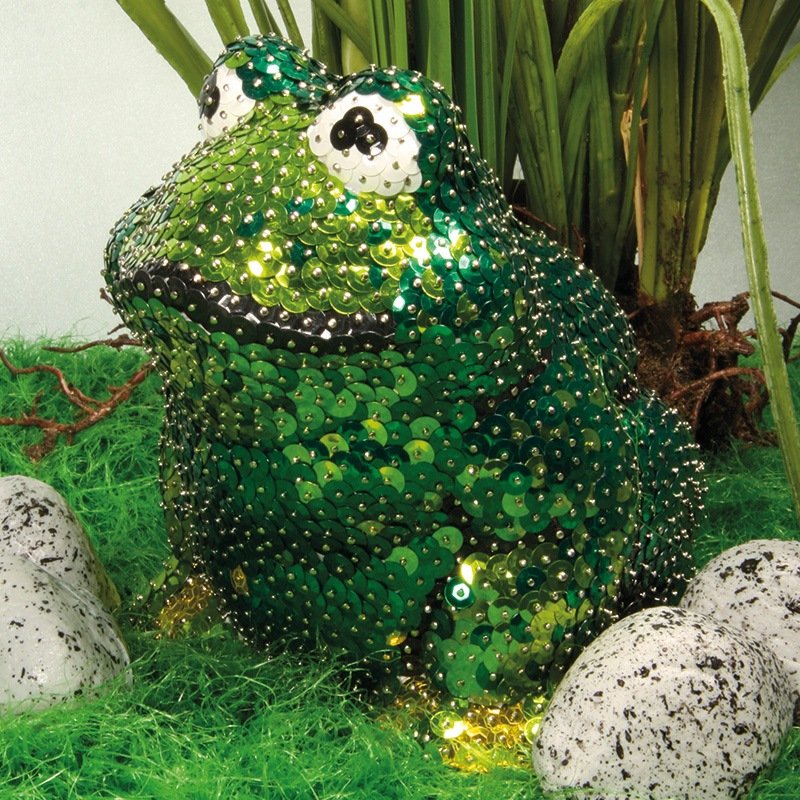


Instructions in 4 steps Use pins to attach each sequin to the styrofoam frog. A pair of tweezers will be useful for placing the sequins precisely.
Besides the articles listed below, you also need: tweezers, mini-Picker
And this is how it works: 1 ![]()

Step 1
Hold the spangles by means of tweezers, lay them onto styrofoam and fix them firmly with pins. Alternatively you can work with the mini-picker. Tack all convex spangles firmly downwards towards the styrofoam.2 ![]()
Step 2
Firstly, work on frog’s eyes (the white areas); then for the pupils, place 3 black spangles over. Put black spangles onto both leg cavities (front & rear side), the mouth and cheeks to achieve 3D-effect.3 ![]()
Step 3
As a next step, insert the yellow details of the feet, then continue with the light green areas of the feet that go up to the frog’s leg. Thereby, use different shades of green. Always incorporate the dark spangles. For effects on larger surfaces, use a light or dark spangle.4 ![]()
Step 4
Apply light green tones on the face of the frog; for the belly, the back, the back of the head and the eyelid of the frog – use the dark green spangles.Tips:
· When taking the spangles out, rub slightly single spangles, so that only one spangle is used.
· Basically, the areas that should give depth, set them first, then continue working with other colours.
· Set the spangles a bit overlapped.