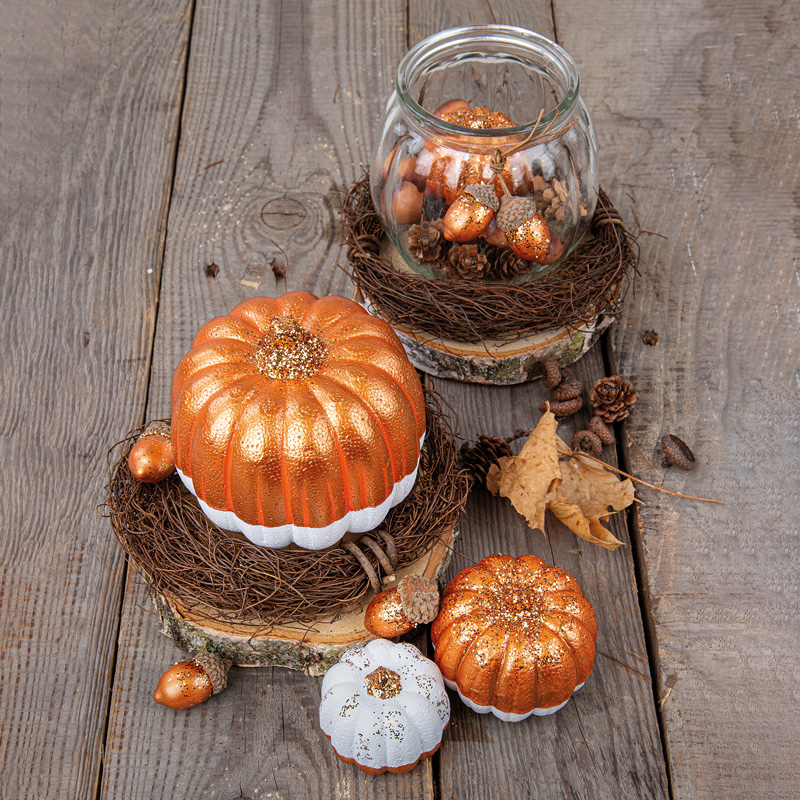
Instructions in 5 steps The styrofoam pumpkins define the shape. Once painted and decorated, they become a luminous autumnal decoration. And this is how it works:
1 ![]()

Step 1
First, paint all the styrofoam pumpkins overall with the white paint. To do this, skewer each one with a wooden skewer at the bottom centre so that you can paint the entire surface at once. Put the skewers with the pumpkins inside a glass jar to dry out.2 ![]()

Step 2
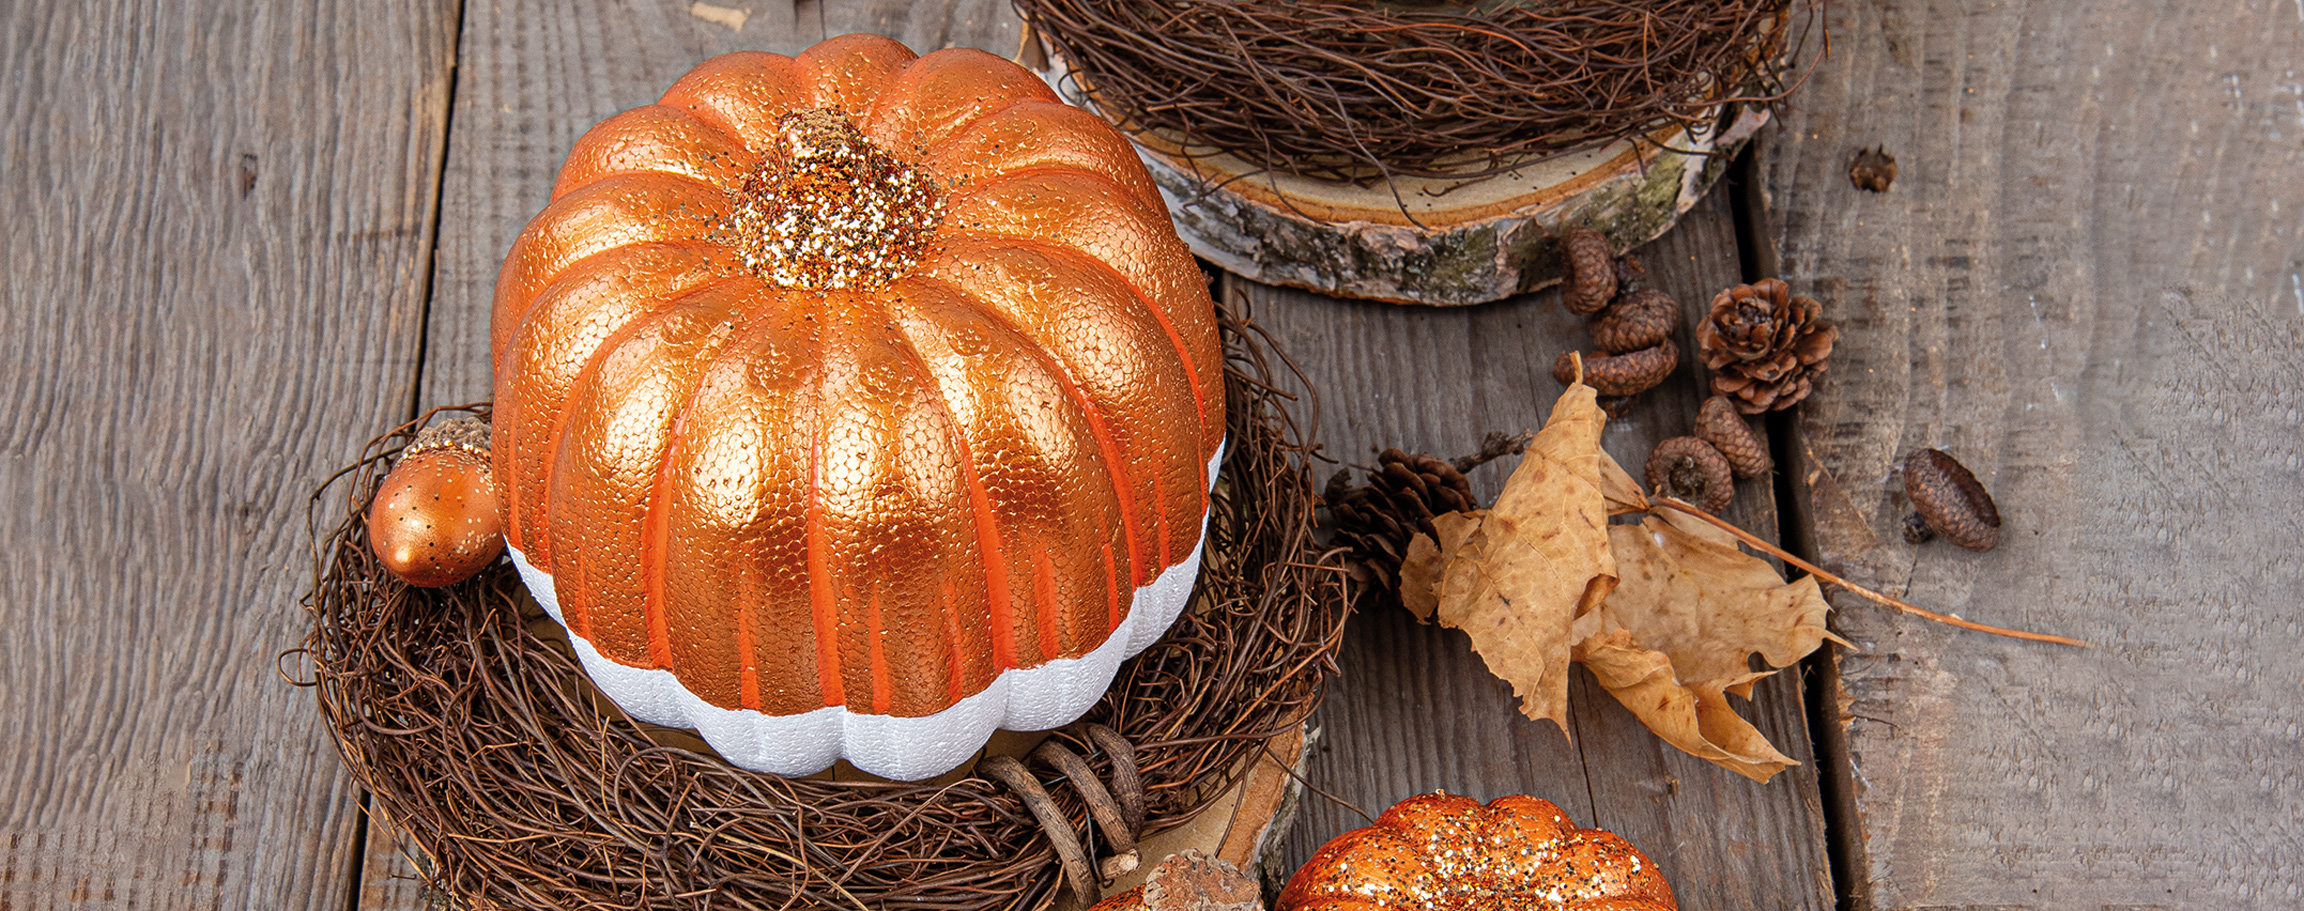
Now spread the Extreme Sheen bronze coloured paint onto the dried white paint of the large pumpkin and onto the largest pumpkin (from the styrofoam pumpkin set) up to the transverse seam of the styrofoam shape. Use the largest flat paintbrush from the set for this purpose. For the smallest pumpkin, the paint application is exactly the other way round. The Extreme Sheen bronze-coloured paint has to be applied at the bottom. The pumpkin in the jar has to be overall painted with the Extreme Sheen bronze-coloured paint. The glitter dust in copper-gold colour should be sprinkled immediately after painting onto the still wet paint with your fingers.3 ![]()

Step 3
Paint the acorns from the acorn & cone mix with the Extreme Sheen bronze-coloured paint by means of the smaller flat paintbrush from the set and sprinkle the glitter dust onto the still wet paint. Now trace a line in the upper area of the large pumpkin grooves using the round paintbrush and the orange colour shade.4 ![]()

Step 4
Decorate the styrofoam pumpkin and the designed acorns & cones inside the glass jar that are entirely painted with the Extreme Sheen bronze-coloured paint and put them on the clematis wreath.5 ![]()


