


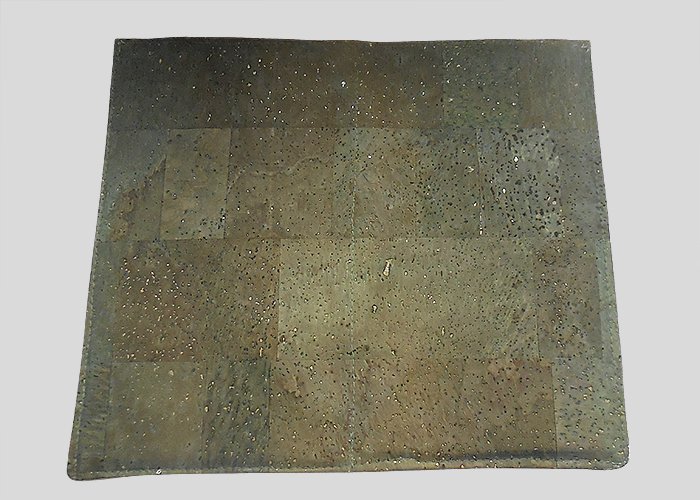
Instructions in 8 steps Cut to size the cork fabric and cotton fabric according to the cutting pattern and sew them together according to the instructions.
Besides the articles listed below, you also need: Sewing machine, thread (matching colour)
And this is how it works: 1 ![]()
Step 1 Large card compartment with bevel:
Lay the two cork cuttings right sides together and sew them together on the three sides. Leave the lower side open as a rotating aperture. Then turn around the sewn part and stitch the bevel and the shorter long side close to the edge.2 ![]()
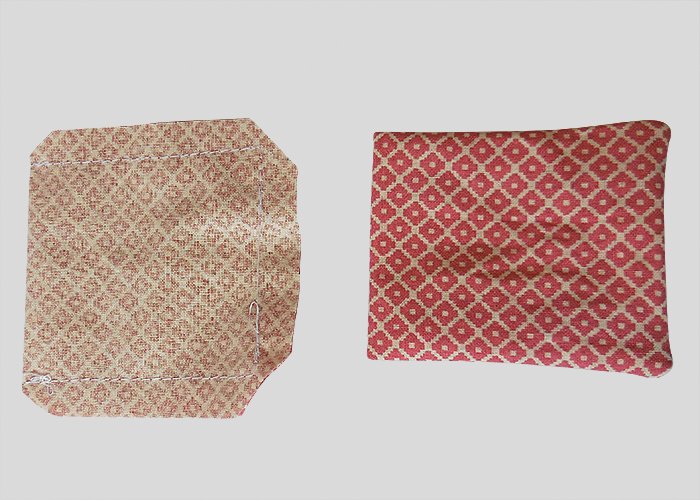
Step 2 Large card compartment:
Cut out once 21 × 10 cm cm (seam allowance included) of the fabric and the cork. Lay the two cork cuttings right sides together and sew them together on the three sides. Leave the lower side open as a rotating aperture. Then turn around the sewn part and stitch only the left outer edge.3 ![]()
Step 3 Small card compartments:
Cut out twice 8,5 × 16 cm of the fabric (seam allowance included). Lay a fabric cutting centered in the fabric fold at the right sides and sew together the three open sides with a rotating aperture and then turn around. Repeat the same steps with the other fabric cutting.4 ![]()
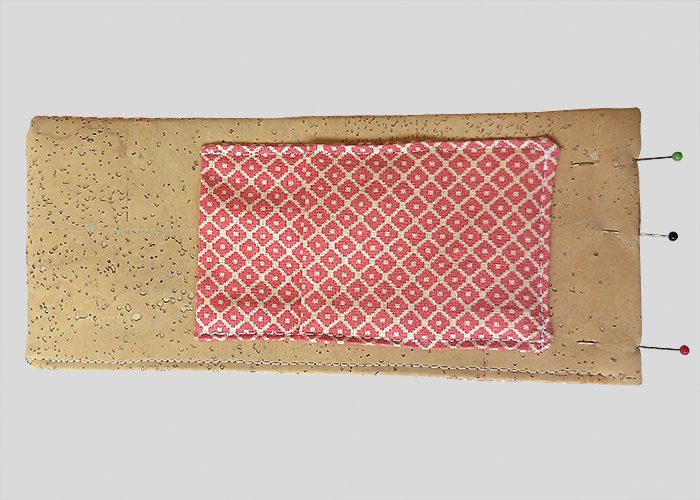
Step 4
Lay one of these two pattern pieces on the contact edge of the Compartment 1 (see the cutting) and sew only the lower edge on the large card compartment. Now you can put the second fabric cutting onto the contact edge of the Compartment 2 (see the cutting) and fix them with sewing pins. This compartment should overlap the Compartment 1. Now you can stitch together the two Compartments on the 3 sides close to the edge. Close as well the rotating aperture.5 ![]()
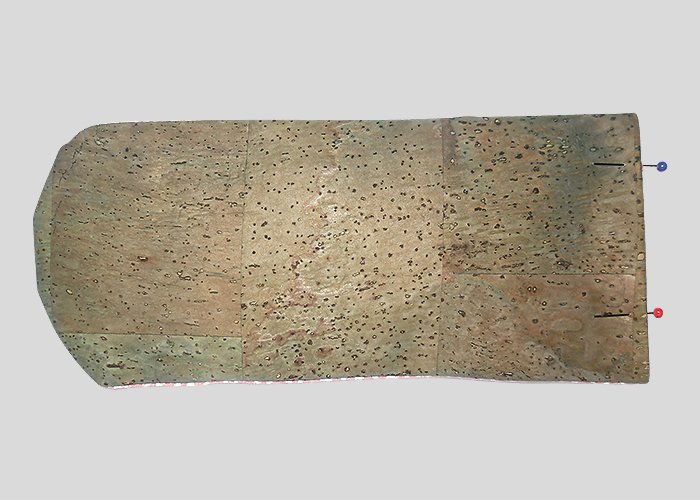
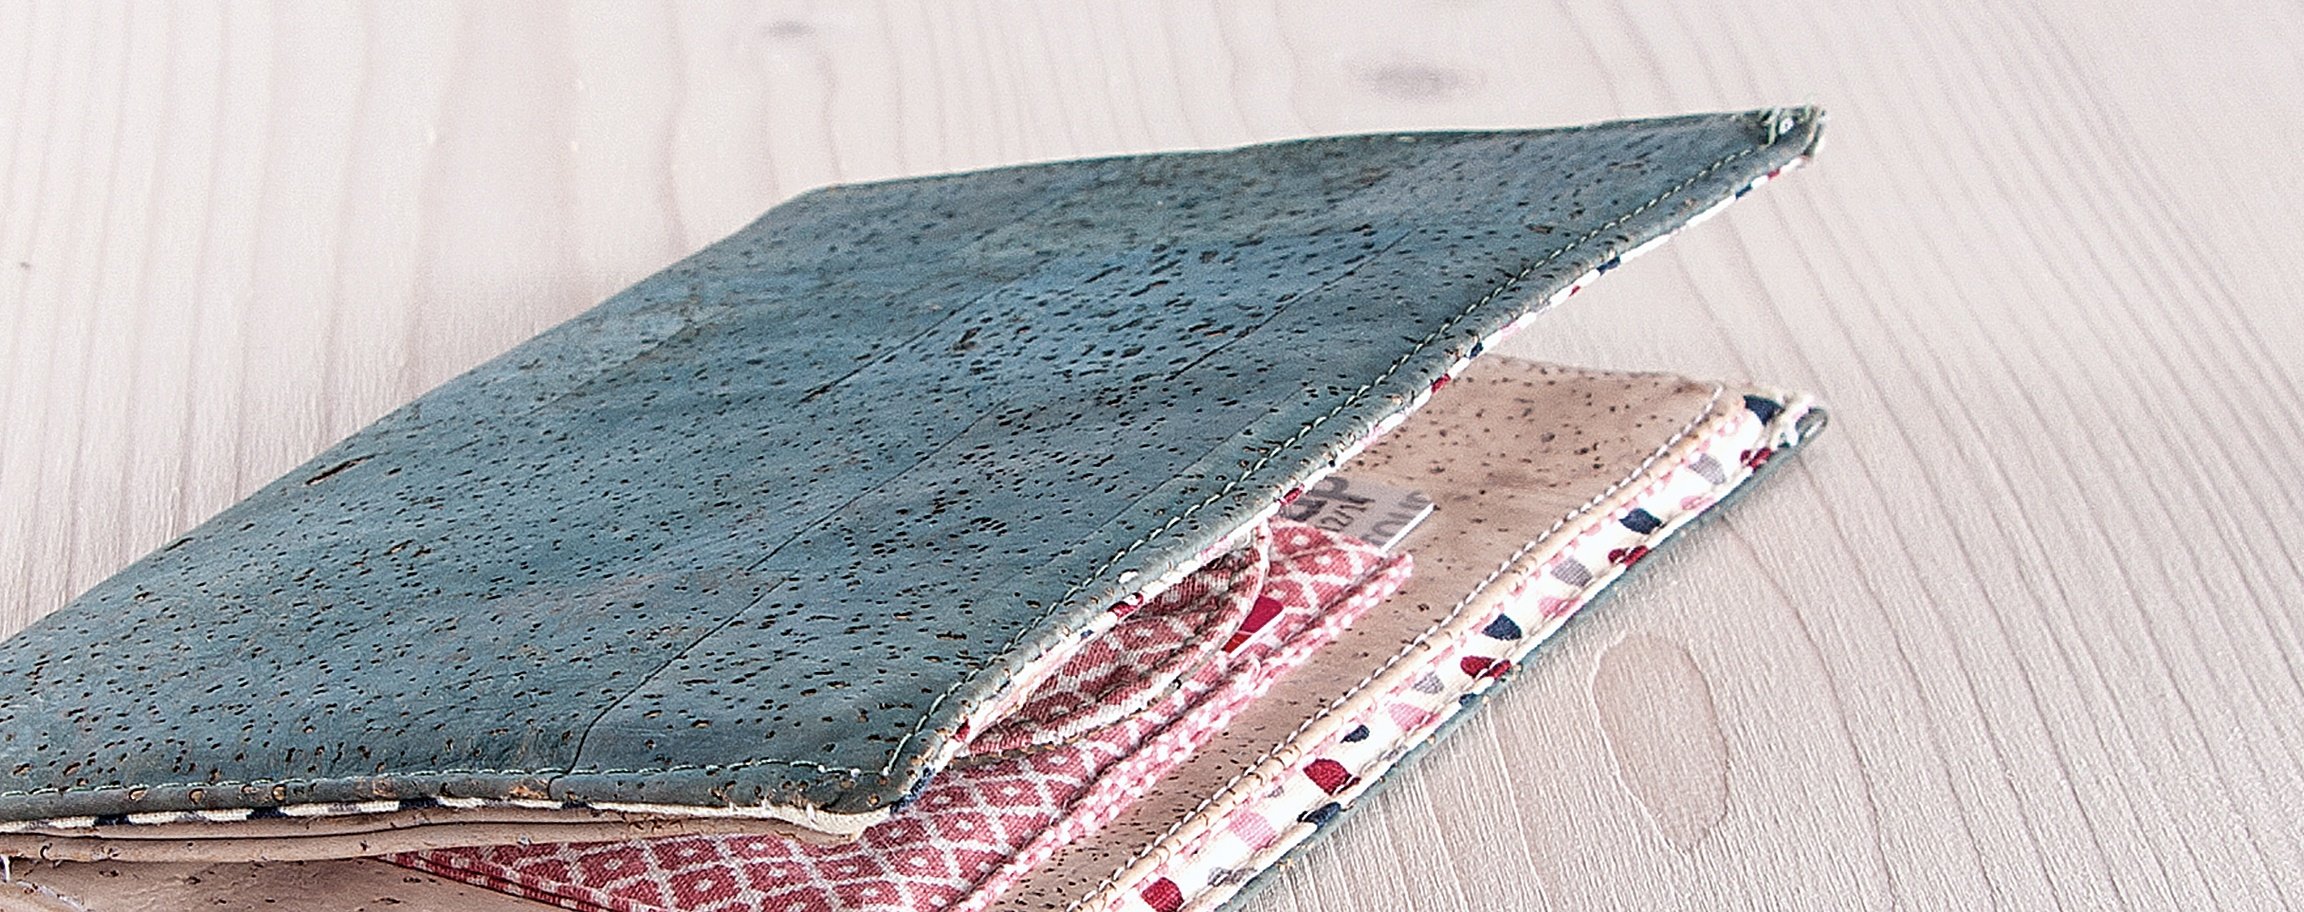
Step 5 The purse:
Then lay the two cork cuttings and the fabric for the purse at the right sides and sew them together by leaving open the rotating aperture at the bottom of the purse. Now turn around the purse and sew the rotating aperture close to the edge. Fold the bottom third of the purse at 6 cm upwards and fix it with a few pins and sew the entire lateral seam incl. the flap close to the edge. Start with the purse bottom.6 ![]()
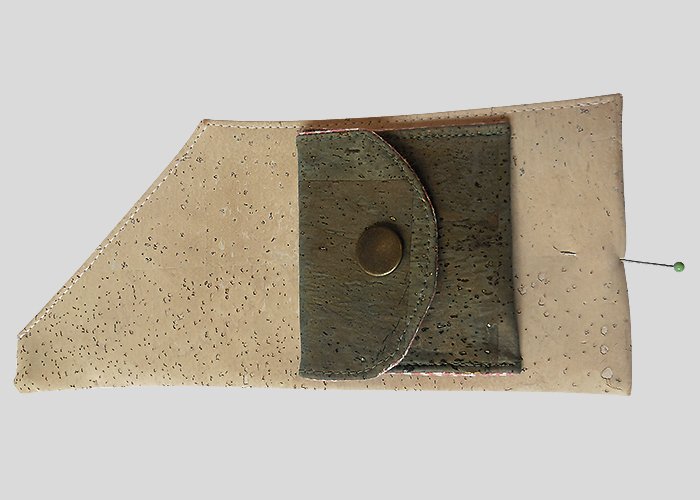
Step 6
Then you can attach a push-button on the purse (see instructions). Now sew the purse onto the large card compartment with bevel.7 ![]()
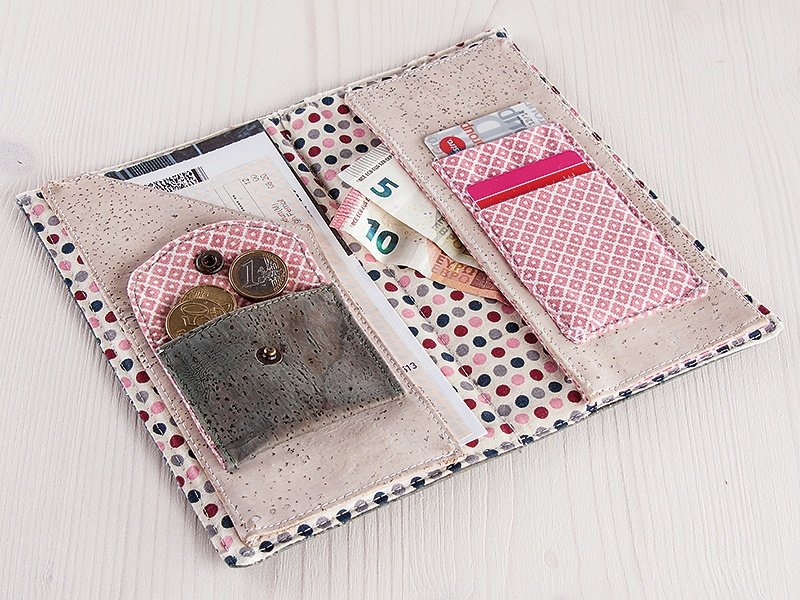
Step 7 The inner side of the small document folder:
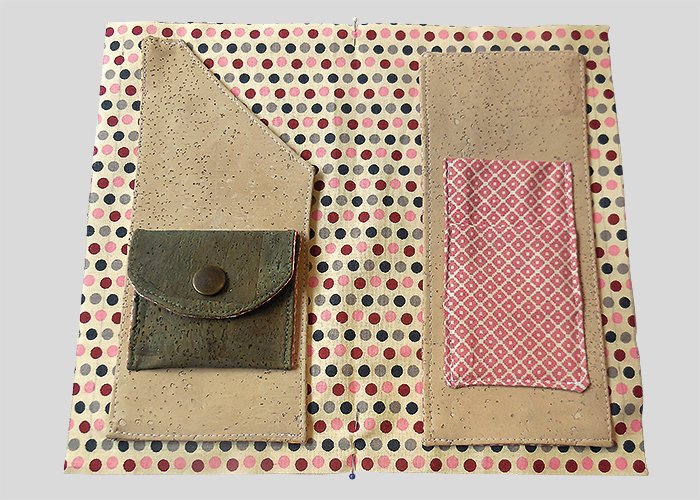
The inner side of the small document folder: Now you can sew the large card compartment with bevel on the right side of the big fabric cutting 26 × 22.5 cm (including the seam allowance), lo the cutting’s contact edge. Start at the upper shorter edge, sew over the left outer and lower edge. Repeat the same step for the second large card compartment (see the stitch picture). Start here at the top short edge and sew over the lower short edge (turn the seam allowance to the inside).8 ![]()
Step 8 The case:
The next step is to lay the both cuttings (26 × 22,5 cm, incl.seam allowance), the cork and the fabric, at the right sides and sew them on three sides completely. Leave, for example, the upper long edge open, through which you can turn around the small document folder. Now sew once the middle of the small document folder. Put each one on one side of the two cutting-greyboards (each one 19 × 10.5 cm). At the end, just stitch narrowly edged out all of the 4 edges of the small document folder and thus close the rotating aperture.Your small document folder is now ready!
Related craft ideas Looking for similar craft ideas? You can find them here: ![]()
![Difficulty -]()
![]()
![Difficulty -]()
![]()
![Difficulty -]()
![]()
![Difficulty -]()
Cork pouch for the shopping cart chip
DIFFICULTY


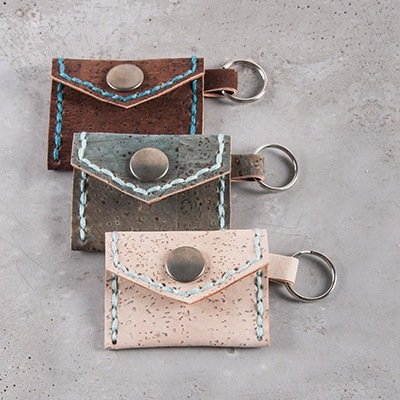
Key ring out of cork
DIFFICULTY

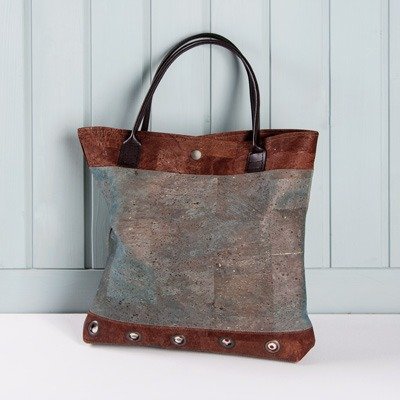
Shopper out of cork
DIFFICULTY
Cork pouches
DIFFICULTY