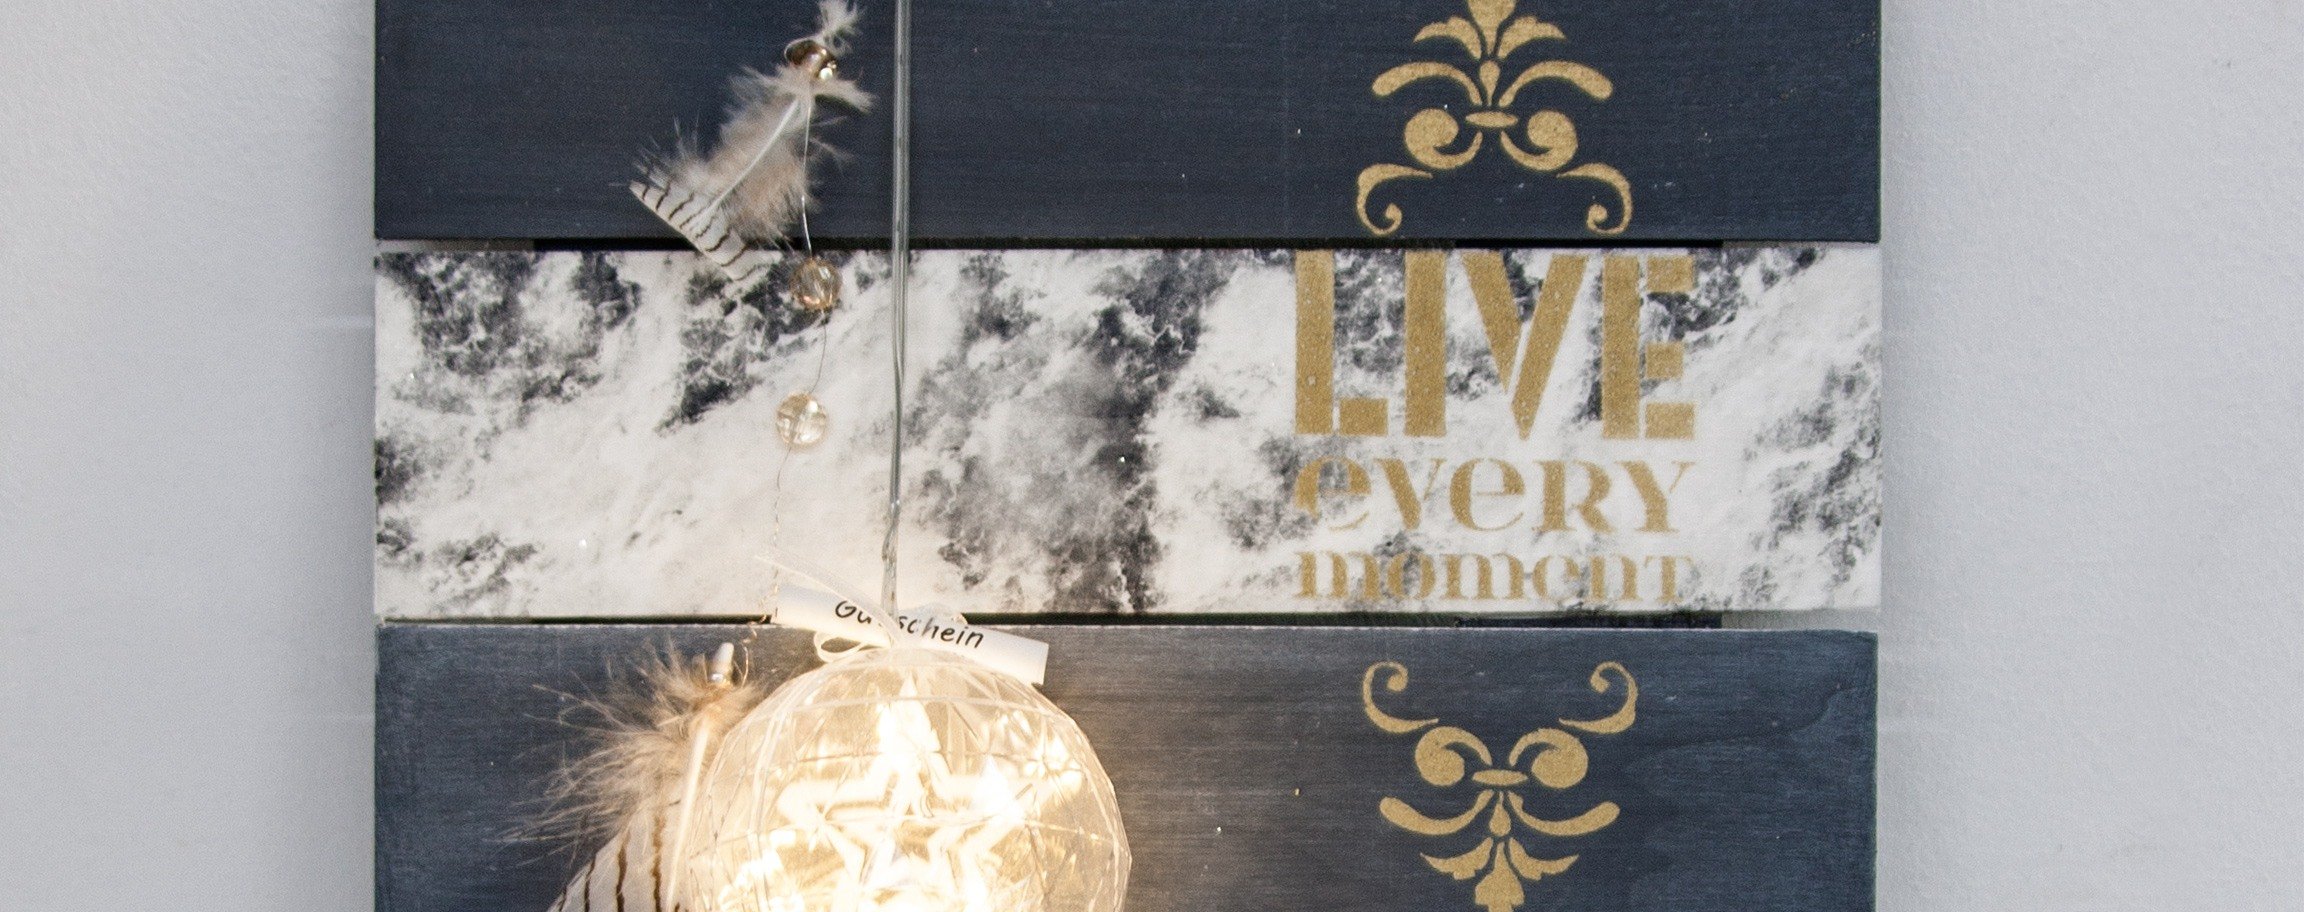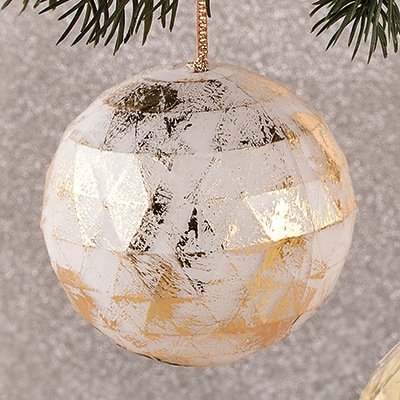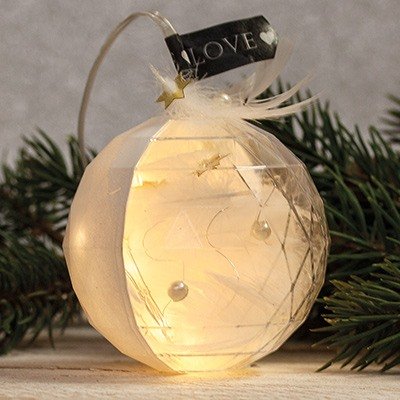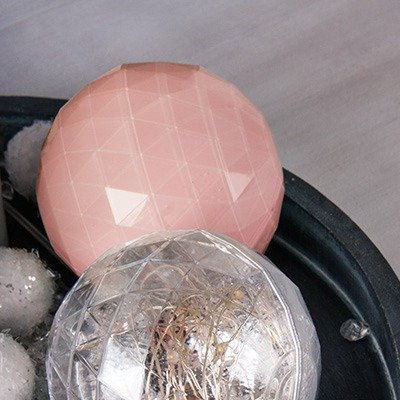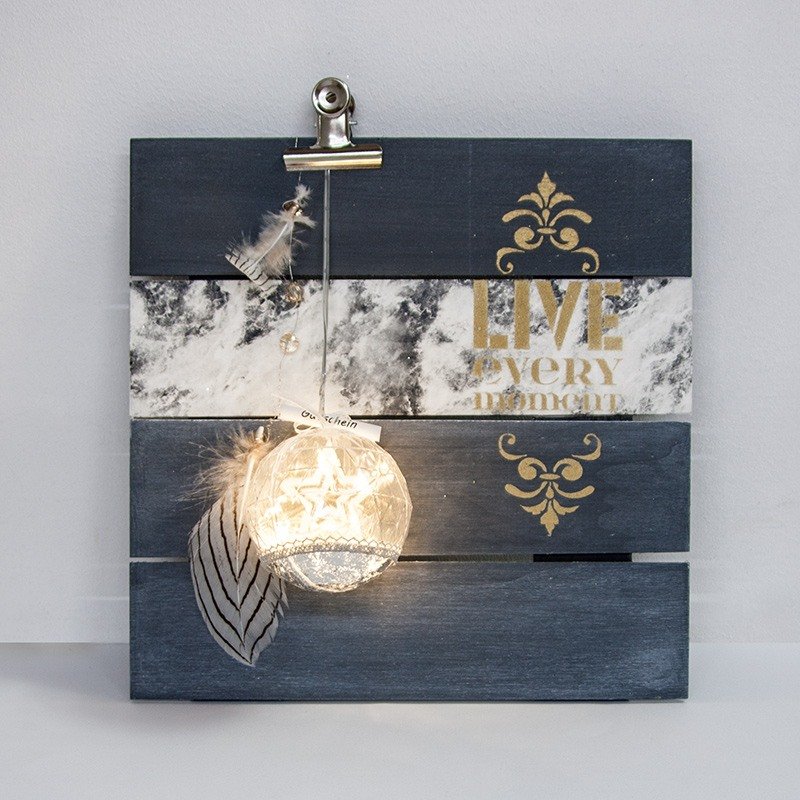
Faceted ball with wooden star-hanger on a decorative board
Difficulty

Duration
120 min Instructions in 17 steps Turn the simple wood slat wall panel into a decorative item. Mirror effect foil, Chalky Finish paint and deco-spray come into play as well as the painted bauble adorned with LED lighting.
Besides the articles listed below, you also need: Button cells
And this is how it works: 1 ![]()

Step 1: Faceted ball
Fill your ball with the corresponding amount of glass-stones and hologram-stars in one half of the ball.2 ![]()

Step 2
Roll the fairy lights into a round ball. Fasten the wooden star-hanger with the organza ribbon as well the fairy lights at the upper crosspiece, and close finally the ball.3 ![]()

Step 3
Dab the surface of the lower ball with the glue for foil in a single line by means of the sponge stamp. Let the glue dry transparent out.4 ![]()

Step 4
Lay the mirror foil with the silver side facing up onto the glue and press/rub it firmly with fingers. Repeat this procedure until the entire surface is covered and no longer sticky.5 ![]()

Step 5
When it comes to the middle line between the mirror foil and the ball, you can hide it by covering it with the decorative border while using the double-sided adhesive tape.6 ![]()

Step 6
The small rolled strip with a message has to be tied firmly onto the organza ribbon that is hanging out.7 ![]()

Step 7: Feather-hanger
Slide a glass faceted bead Radl onto a quill of the big feather and wrap the silver wire around the quill above the bead.8 ![]()

Step 8
Thread a glass faceted bead onto the wire and fix it at a distance of 5cm, then thread the wire once again through the bead. Repeat this step once more.9 ![]()

Step 9
Attach a wire, a small decorative feather and a glass faceted bead Radl onto the quill and wrap the wire around the quill.10 ![]()

Step 10
Now, wrap the wire around a pencil, this give rise to a loose spiral.11 ![]()

Step 11: Decorative board
Paint the corresponding slats of the wooden slats frame with the brush and the anthracite Chalky Finish paint.12 ![]()

Step 12
Prime the second slat from above with the white Chalky Finish paint. Let the paint dry well out.13 ![]()

Step 13
Wipe the mixture out of the white Chalky Finish paint and the Chalky Finish cream-wax in a mixing ration of 2:3 over the anthracite-coloured slats with a sponge. As a result, a limed appearance arises.14 ![]()

Step 14
Stick the precisely tailored cutting of the DecoMaché marbled paper by means of the Decoupage glue & lacquer and let it dry.15 ![]()

Step 15
Spray the non-permanent spray glue at the back of the stencil “Lebe den Tag”. Let the glue air dry briefly and place the stencil on the board. Coat the rest of the board as well as the scripture that are not intended for spraying with newspapers and masking tape.16 ![]()

Step 16
Shake well the Goldspray and spray it over the stencil. Let it dry briefly out. Now you can remove the stencil.17 ![]()


