


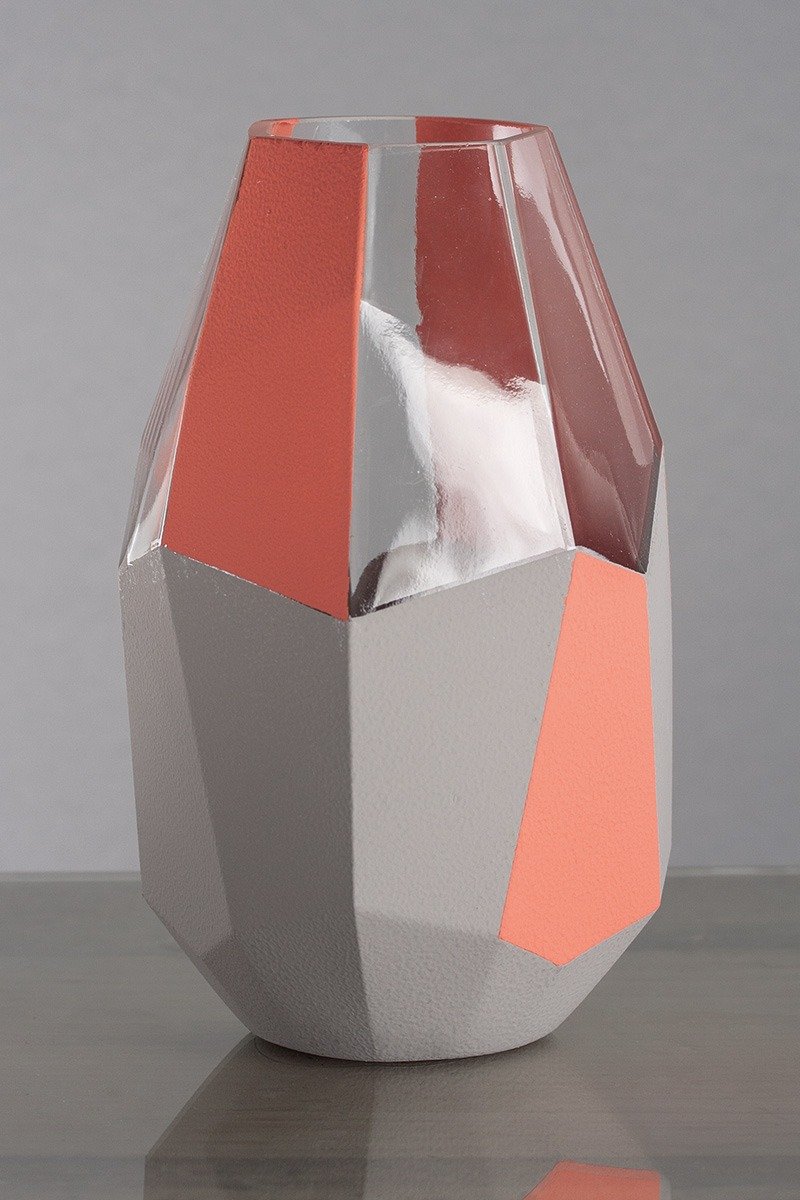


Instructions in 6 steps Cover the individual honeycombs of the glass vase with masking tape so that the edges are sharp. Then paint the individual facets to your liking.
Besides the articles listed below, you also need: Masking tape
And this is how it works: 1 ![]()

Step 1
Before the creative designing, clean the glass vase grease and dust-free with water and detergent.2 ![]()
Step 2
Stick on the masking tape approximately in the middle of the vase along the edges of the geometric surfaces and dab off uniformly the light-grey Chalky Finish at the lower part of the vase with the sponge stamp. Take off the masking tape and let the colour dry thoroughly.3 ![]()
Step 3
Now stick on the edges of the geometric forms at the upper part which are gonna be afterwards painted. You can achieve great effects if you leave always between the two painted surfaces, an area free and unpainted.4 ![]()
Step 4
Dab off the desired glass surfaces with the salmon pink Chalky Finish. At the place where two glass surfaces remain adjacent unpainted, will be instead dabbed off an additional painted section at the lower area of the vase.5 ![]()
Step 5
Let it dry.6 ![]()
Step 6
After four days drying time, the paint on the glass vase is so hardened that you can fix it in the oven according to the instructions of the label and that way, you can wash it in a dishwasher.Related craft ideas Looking for similar craft ideas? You can find them here: ![]()
![Difficulty -]()
![]()
![Difficulty -]()
![]()
![Difficulty -]()
![]()
![Difficulty -]()
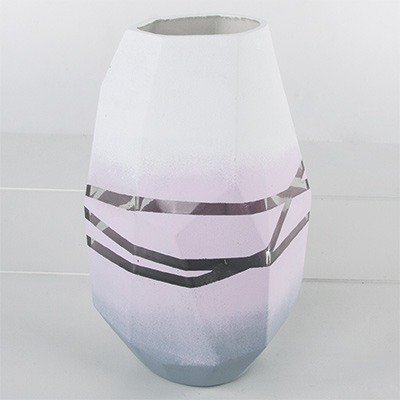
Glass vase with Chalky Finnish and graphic lines
DIFFICULTY

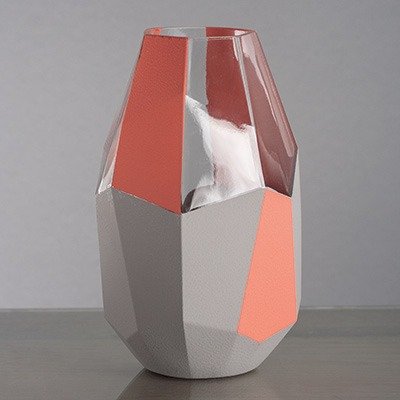
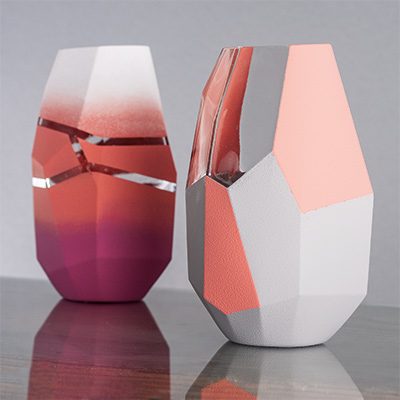
Faceted glass vase
DIFFICULTY

Big glass vase with colour gradient
DIFFICULTY

Glass vase with Chalky Finish
DIFFICULTY