


Instructions in 11 steps For the hat of the mushroom, you’ll need a styrofoam half-ball. If you wrap it with cling film before coating it with concrete, the demoulding will be much easier.
Besides the articles listed below, you also need: Container for kneading of the cement (e.g. bowl with poss. lid), disposable gloves, brush, cling film, stable support e.g. the lid of a plastic bucket, small container with water, stand for the styrofoam-ball (e.g. a can)
And this is how it works: 1 ![]()

Step 1
Thus the kneading-cement is not too dry, we recommend you to work it out in 2 sections. Always wear plastic gloves while working!2 ![]()
Step 2: Mushroom cap
Place securely stable a half of the styrofoam-ball on a can or the like.3 ![]()
Step 3
Mix 1.3kg of the creative kneading-cement with water in the ratio 9:1 (9 parts of cement : 1 part of water). This corresponds to about 144 ml. Stir the water slowly, gradually add it while constantly kneading. Knead the crumbly mixture with damp disposable gloves (if necessary, moisten several times) until the desired consistency is achieved.Hint: You can mix also, quickly and easily, the kneading-cement in a sealable container. Here also add the water gradually by stirring it constantly, then close the container and shake it well. That way there is less dust and the parts intermix perf
4 ![]()
Step 4
Lay the mixed kneading-cement mixture between two pieces of the cling foil. Roll out the kneading-cement on the cling foil with the rolling pin up to about 1.5cm thickness.5 ![]()
Step 5
Place the rolled-out cement-mixture onto the half of the styrofoam-ball by using the cling film and then take off the upper foil. Now you can sculpt the semi-sphere with uniform stroking movements by hands until the kneading-cement mixture covers uniformly and smoothly the styrofoam semi-sphere. Do not spread out the cement straight up to the edge, rather leave about 1cm free right up to the edge!Hint: The cement mixture should be smooth and easily malleable. If the cement is cracky during kneading, just sprinkle it with some water.
6 ![]()
Step 6
Let it dry at least 1 day. Finally, remove carefully the styrofoam semi-sphere and the foil. The entire drying period lasts for several days. After about 21 days the object is weatherproof.7 ![]()
Step 7: Mushroom stalk
Repeat the mixing with the remaining kneading-cement (1.2kg) with about 130ml of water as already described above.8 ![]()
Step 8
Take some kneading-cement between the palms, tap it flat and coat that way the styrofoam-cone. Now you can sculpt the cone with uniform stroking movements by hands until the kneading-cement mixture covers it uniformly and smoothly. Decorate the stalk with linear grooves by using the modelling tool.9 ![]()
Step 9
The cement mixture should be smooth and easily malleable. If the cement is cracky during kneading, just sprinkle it with some water.10 ![]()
Step 10
Let it dry at least for 1 day. The entire drying period lasts for several days. After about 21 days the object is weatherproof.11 ![]()
Step 11
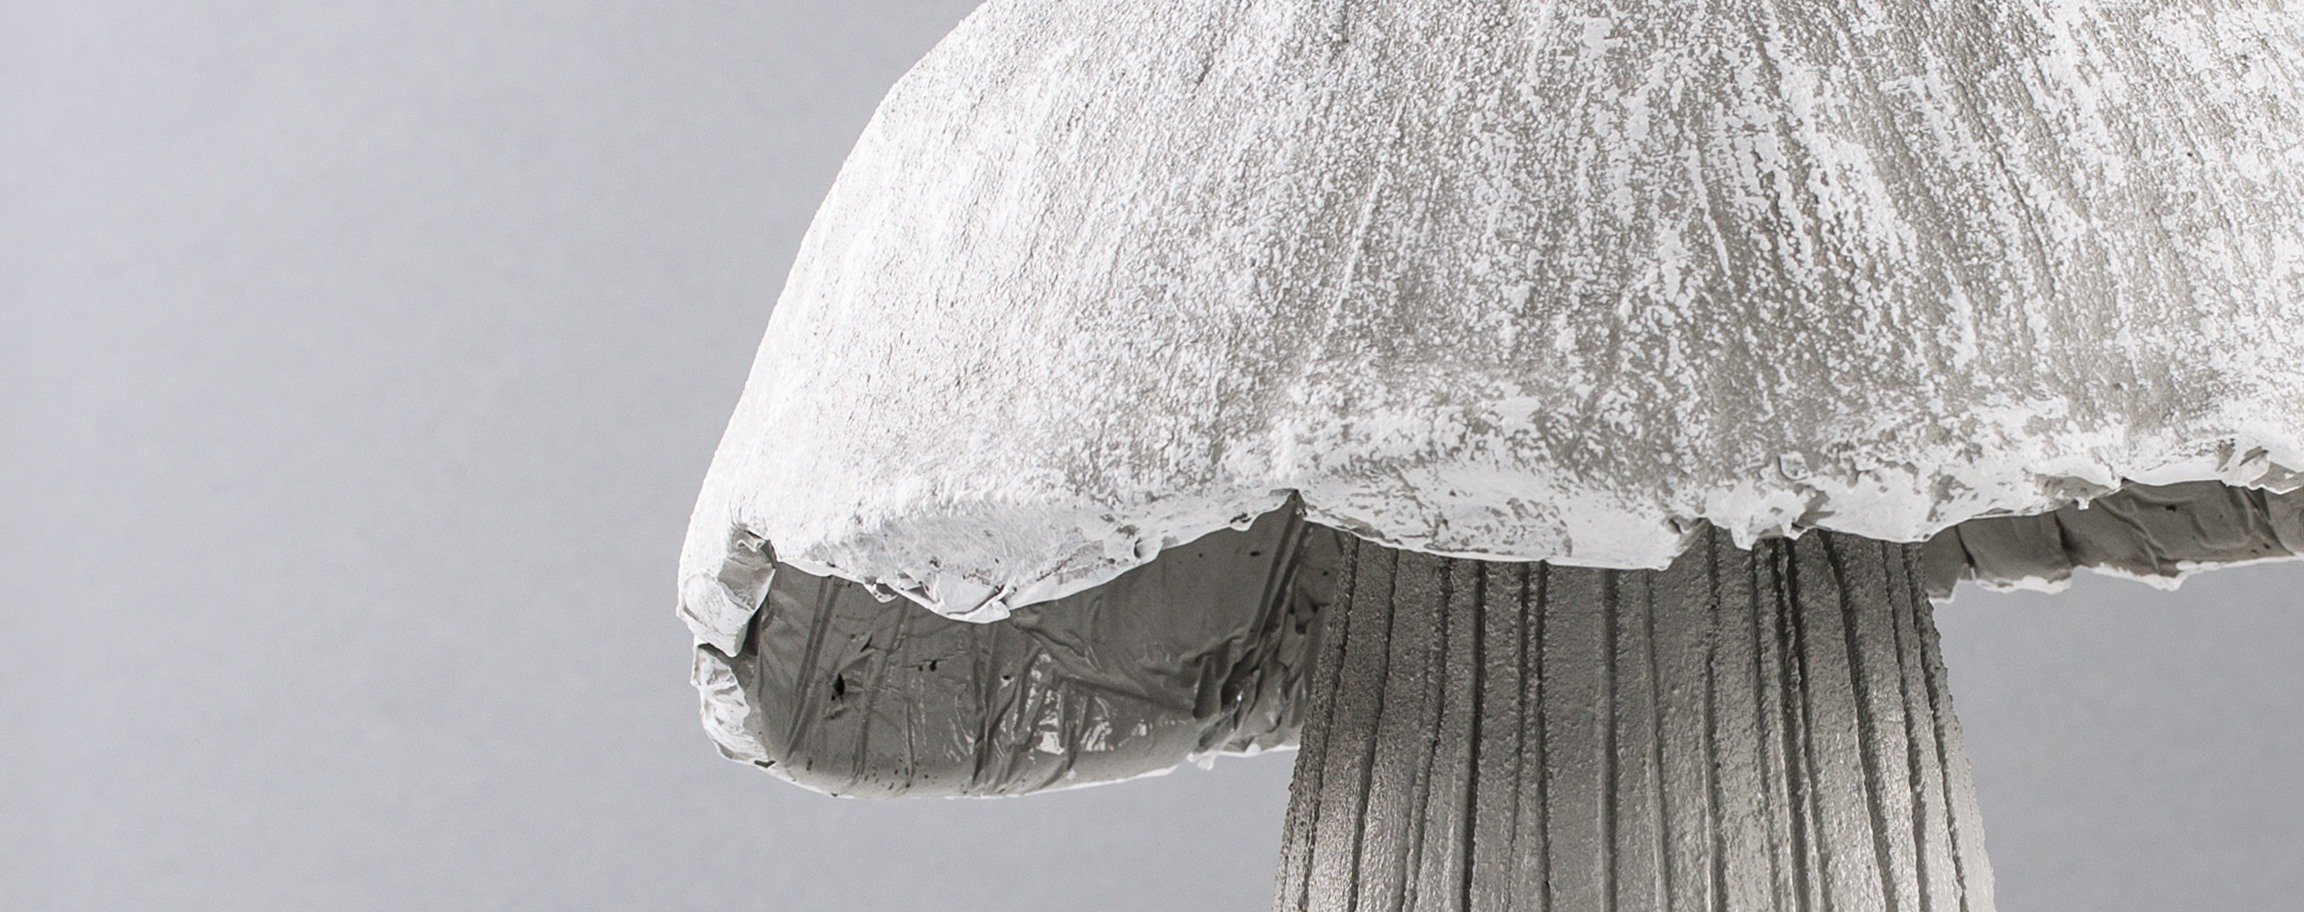
After the drying time, the mushroom cap and stalk can be assembled together and if necessary, with hot glue securely fastened.Related craft ideas Looking for similar craft ideas? You can find them here: ![]()
![Difficulty -]()
![]()
![Difficulty -]()
![]()
![Difficulty -]()
![]()
![Difficulty -]()
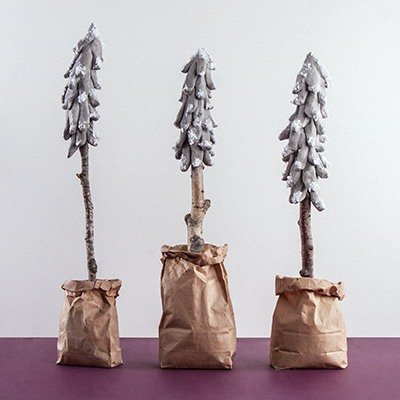
Cement fir-tree in a bag pedestal
DIFFICULTY

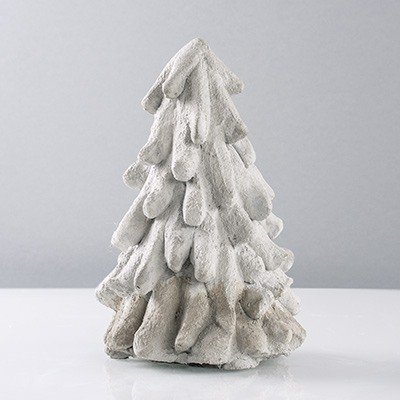
Fir-tree (about 22cm) out of the kneading-cement
DIFFICULTY

Big mushroom out of kneading-cement
DIFFICULTY


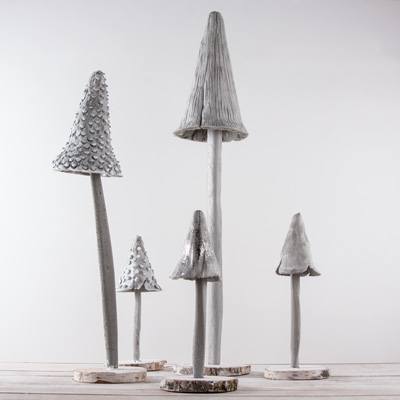
Small mushroom out of the kneading-cement
DIFFICULTY
