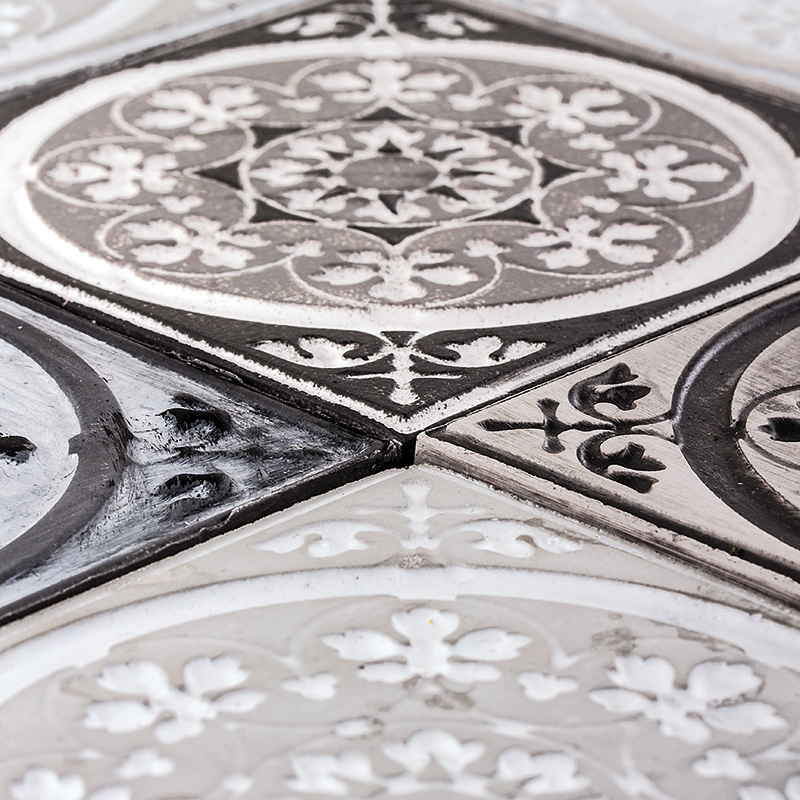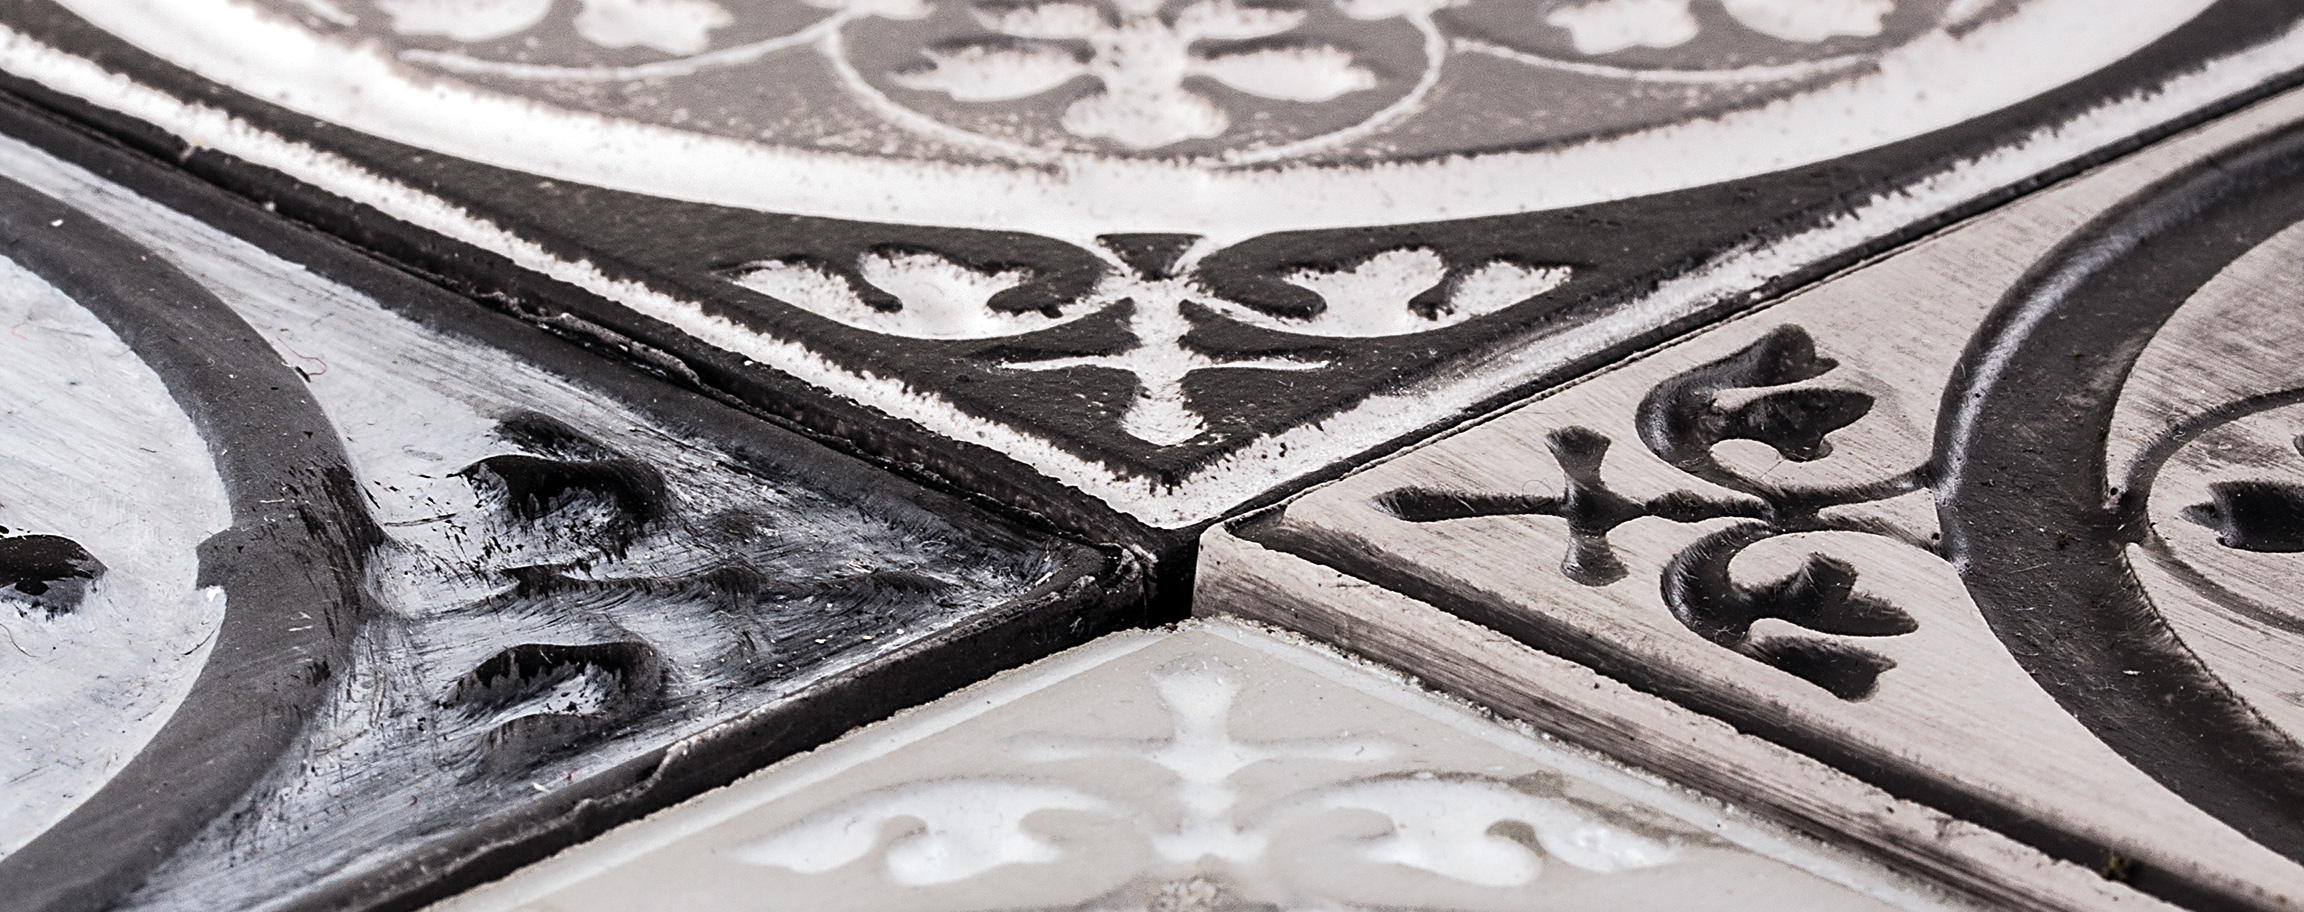
Instructions in 4 steps The casting tile with relief structure offers your home particularly individual Raysin tiles.
Besides the articles listed below, you also need: Wooden stick, Tweezers, Egg whisk, Mixing container, Scales, Aluminium foil, Kitchen roll
And this is how it works: 1 ![]()

Step 1
Use the titanium scissors to cut the double-sided adhesive foil with a seam allowance of 1 cm relative to the dimensions of the relief-cast tile. The relief-cast tile can be used on both sides (poured out), you will achieve that way different effects. Remove the red foil from the adhesive foil and put the chosen motif with the lower side on the adhesive foil, so that your desired motif is at the top. Then press well on the relief-cast tile and use the scissors to cut the double-sided adhesive foil to size.2 ![]()

Step 2
In order to prevent the tile from being poured out obliquely, it is necessary to work on a horizontal and stable surface. Remove now the white foil and glue the relief-cast tile into the casting mould and press it down well to avoid the moulded Raysin run-off later under the cast tile. Mix 150 g of the casting powder Raysin 200 with 40 g of water, stir evenly and pour it into the tile-shaped casting mould. After approx. 1 hour, turn the casting mould over and demould carefully the tile. Now you can buff a bit the edges with the sandpaper.3 ![]()

Step 3
Let the poured tile to dry out thoroughly, preferably overnight. Then apply the stone-grey glaze paint onto the entire surface of the tile with the glaze brush. Let it dry out for a while and wash out well the glaze brush. Spread now the glaze paint alabaster white over it with the glaze brush. Let it again dry out briefly. In order to achieve the Shabby effect, carefully remove the alabaster-white glaze with a damp sponge, so that the alabaster-white glaze remains in the hollows.4 ![]()


