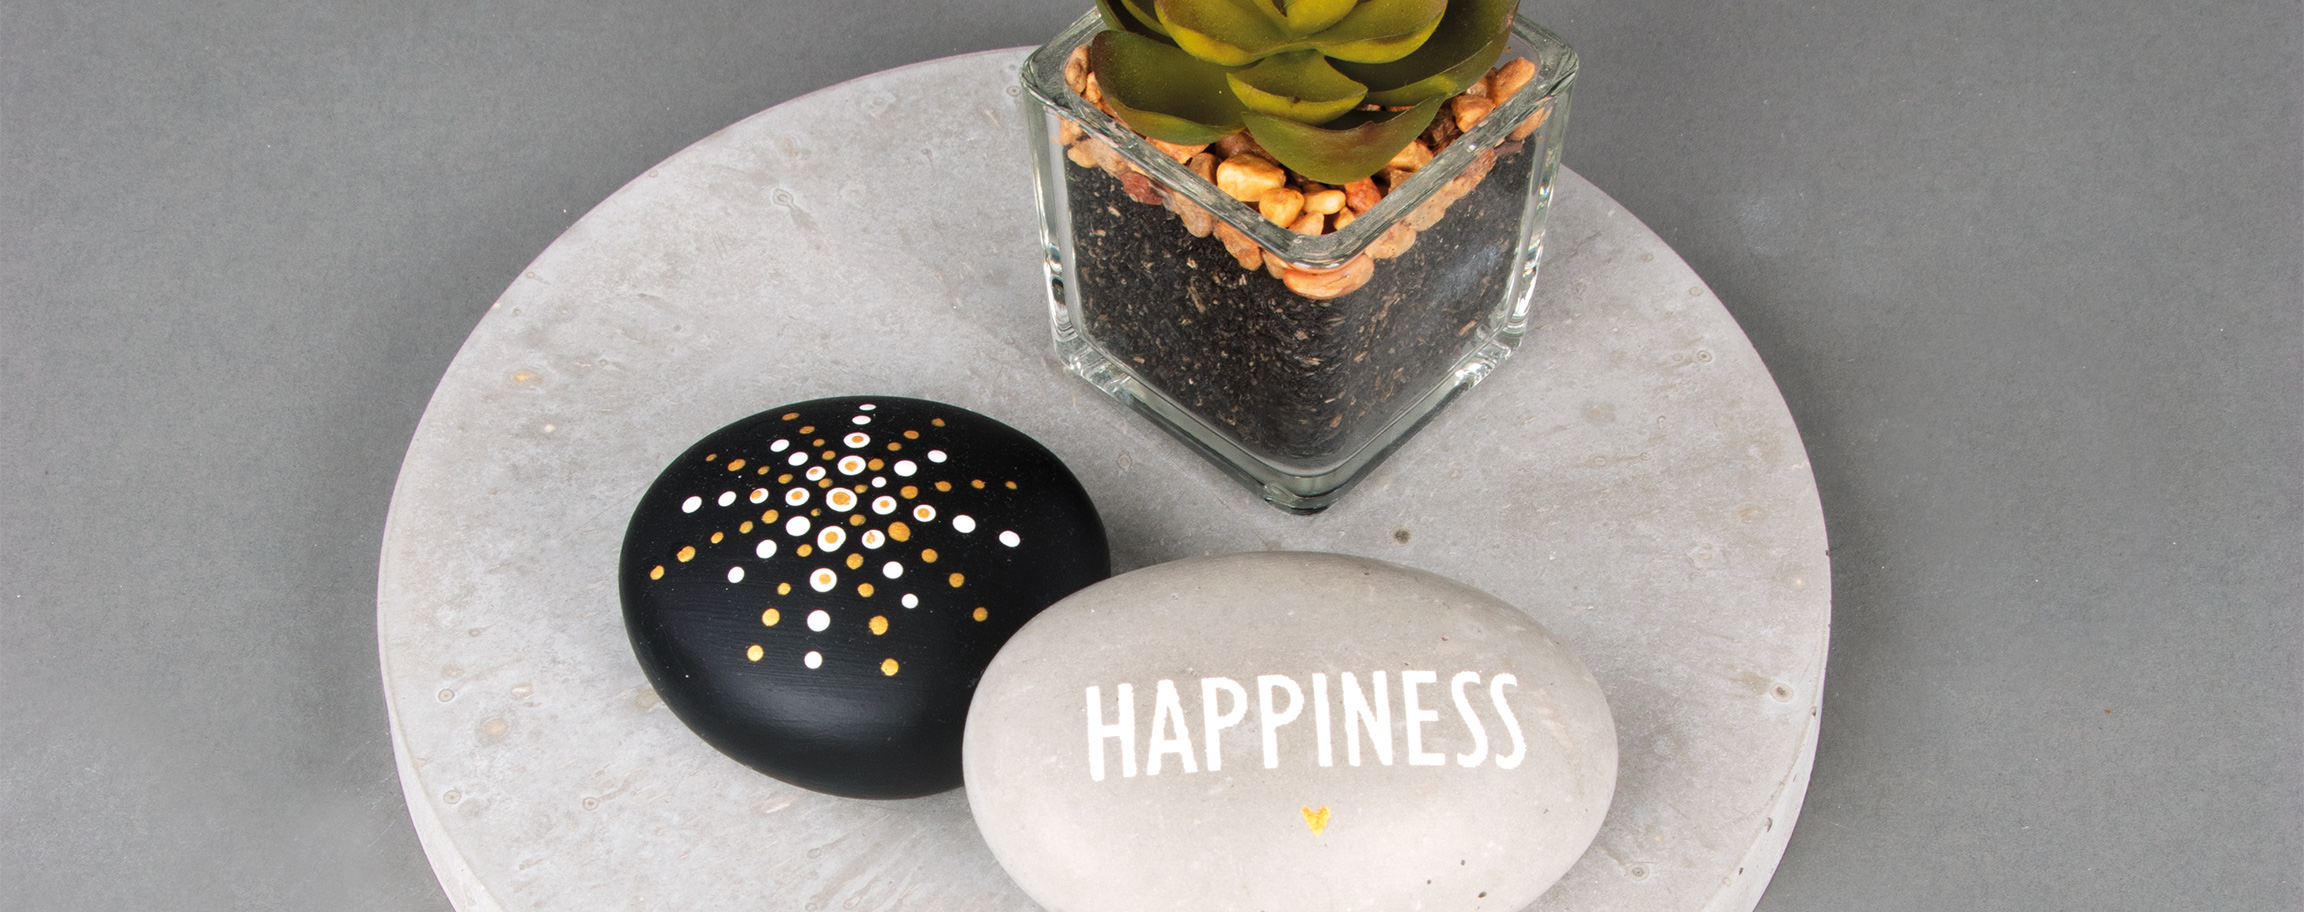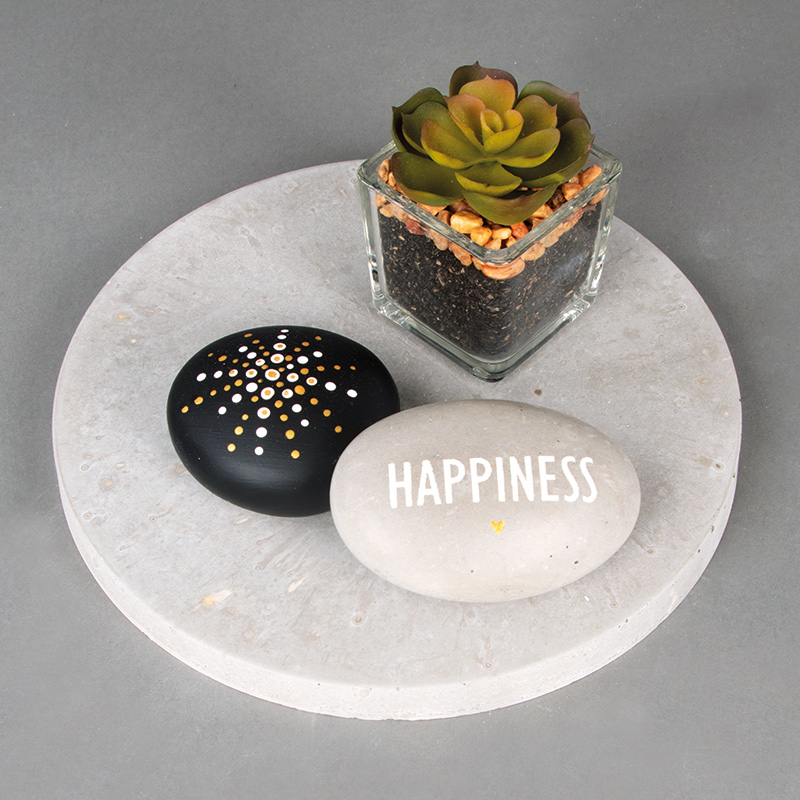
Instructions in 14 steps Decorative stones cast with Raysin powder – once decorated and adorned, they become true eye-catchers.
Besides the articles listed below, you also need: Scales, mixing cup, water, aluminium foil
And this is how it works: 1 ![]()
A:
Stone out of Raysin "Dot-Painting"2 ![]()

Step 1
Mix 120 g of Raysin 200 according to instructions, mix it evenly and pour out the big, round stone in a casting mould.3 ![]()

Step 2
After about 1 hour, you can turn the mould upside down and remove the stone from the casting mould (demould). Allow the stone to dry thoroughly out for several days.4 ![]()

Step 3
Smooth the resulting stone edges with sandpaper.5 ![]()

Step 4
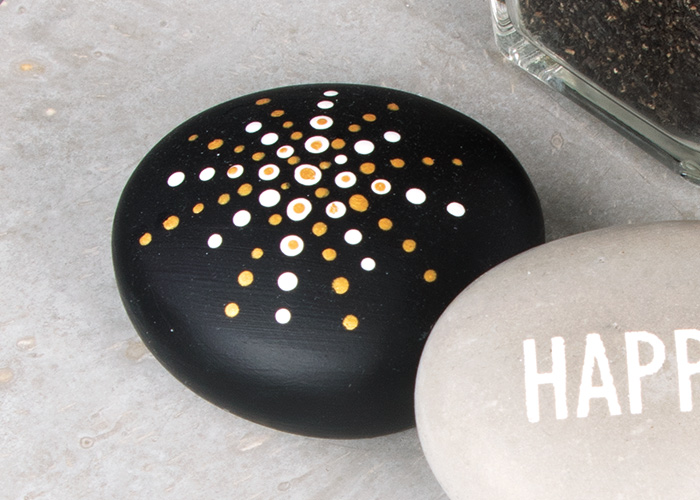
Paint the stone with the black All Purpose paint. You can draw various dots by means of the metallic Dot Painting stylus and the snow-white All Purpose paint. Start working from the middle of the stone and continue by forming a star-shape with wide spaces in between. Then use the gold Extreme Sheen paint and draw small star-shaped dots in between.6 ![]()

Step 5
It looks really nice when you draw a small golden dot on the white ones that are in the middle of the stone.7 ![]()
B:
B: Creative-cement Stone "Happiness"8 ![]()

Step 1
Mix 150 g of creative-cement according to instructions, mix it evenly and pour out the big, oval stone in a casting mould.9 ![]()

Step 2
The very next day, you can turn the mould upside down and remove the stone from the mould (demould). Allow the stone to dry thoroughly out for several days.10 ![]()

Step 3
Smooth the resulting stone edges with sandpaper.11 ![]()

Step 4
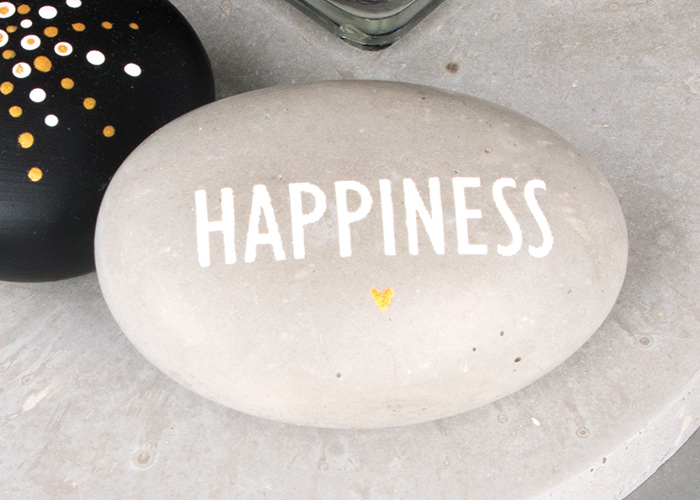
Cut out the motif “Happiness” from the screen printing stencil and peel off the backing paper from the stencil. Place the motif in the middle of the stone. Stretch the stencil slightly over the surface of the stone and rub it firmly with your fingers. The applied motif should not form any creases, should lie fully on the surface and should be snug-fitting to the surface shape of the stone.12 ![]()

Step 5
Now spread, quickly and evenly, the white Chalky Finish paint over the letters on the stencil by means of the paintbrush. Paint the small heart with the gold Extreme Sheen paint. After stencilling, carefully remove the stencil sideways and clean it immediately with water.13 ![]()

Step 6
Let the stone dry well out.14 ![]()


