


Instructions in 3 steps A few twigs, glue and a styrofoam ring are just enough to create outstanding wintry decorative objects.
Besides the articles listed below, you also need: Hot melt glue gun (e.g. item no.33 363 00), Paintbrush (e.g. item no.37 053 000 - set of brushes Hobby Kreativ, FSC 100%)
And this is how it works: 1 ![]()
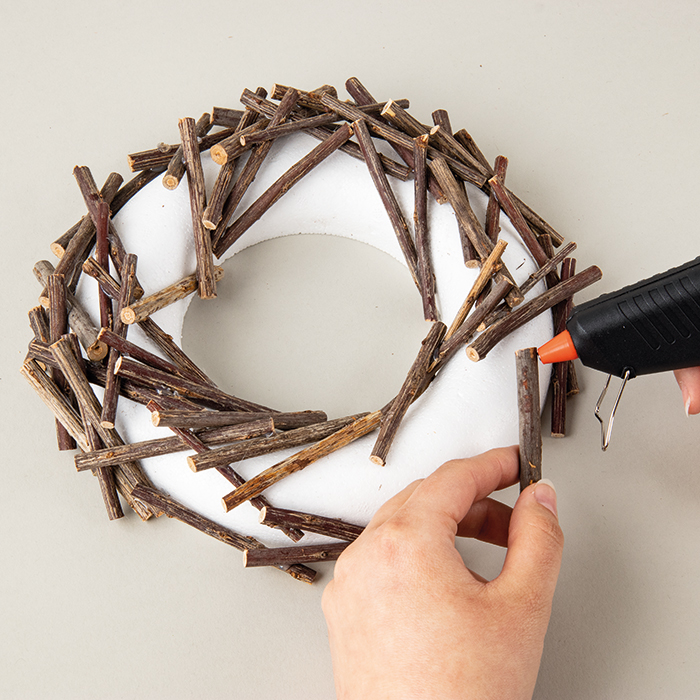
Step 1
Use the styrofoam flat ring as a shaping tool. Start with the shaping of the loose twig pile and glue the twigs slightly criss-cross around the entire wreath to your liking, while creating a rough wreath shape. Pay attention that no glue drops leak on the styrofoam base, otherwise you will not be able to remove the finished wreath from the base.2 ![]()
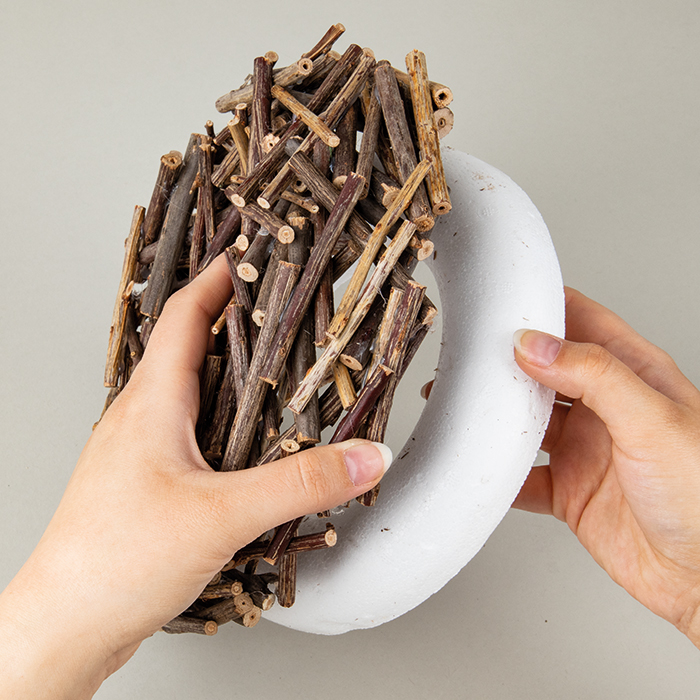
Step 2
Now glue as many twig pieces criss-cross on top of one another until the wreath satisfies your expectations and the twigs have become evenly distributed. Finally, take off the styrofoam flat ring.Tip: Colour a few twig ends with paint (e.g. Extreme Sheen paint) and let them dry out. To further enhance the wreath, create a narrow border around the painted edge by means of the Quickie glue and sprinkle some glitter on top, allow to dry and then remove excess glitter by gentle tapping.
3 ![]()

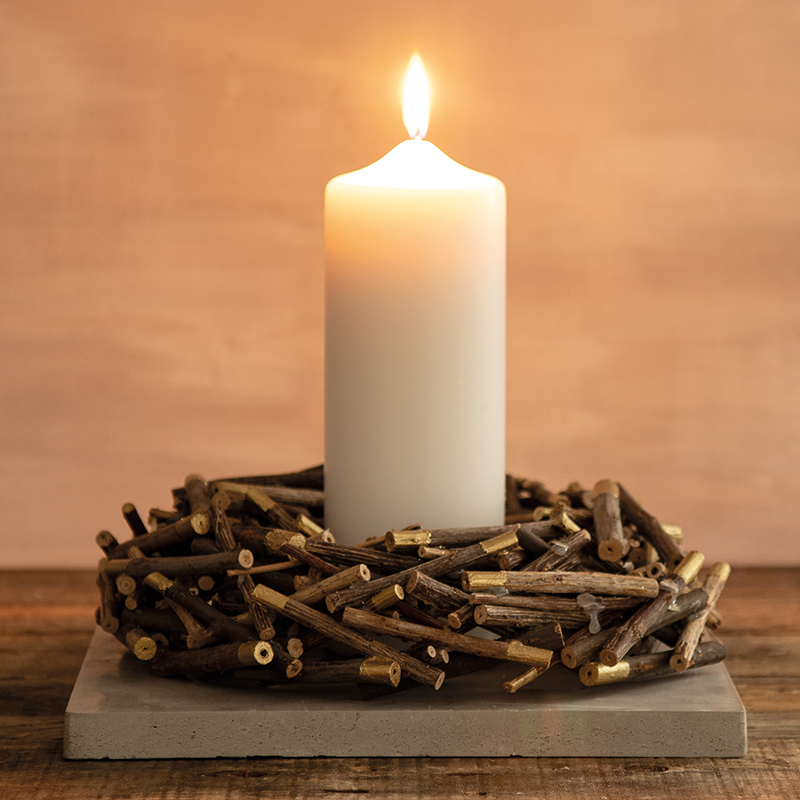
Step 3
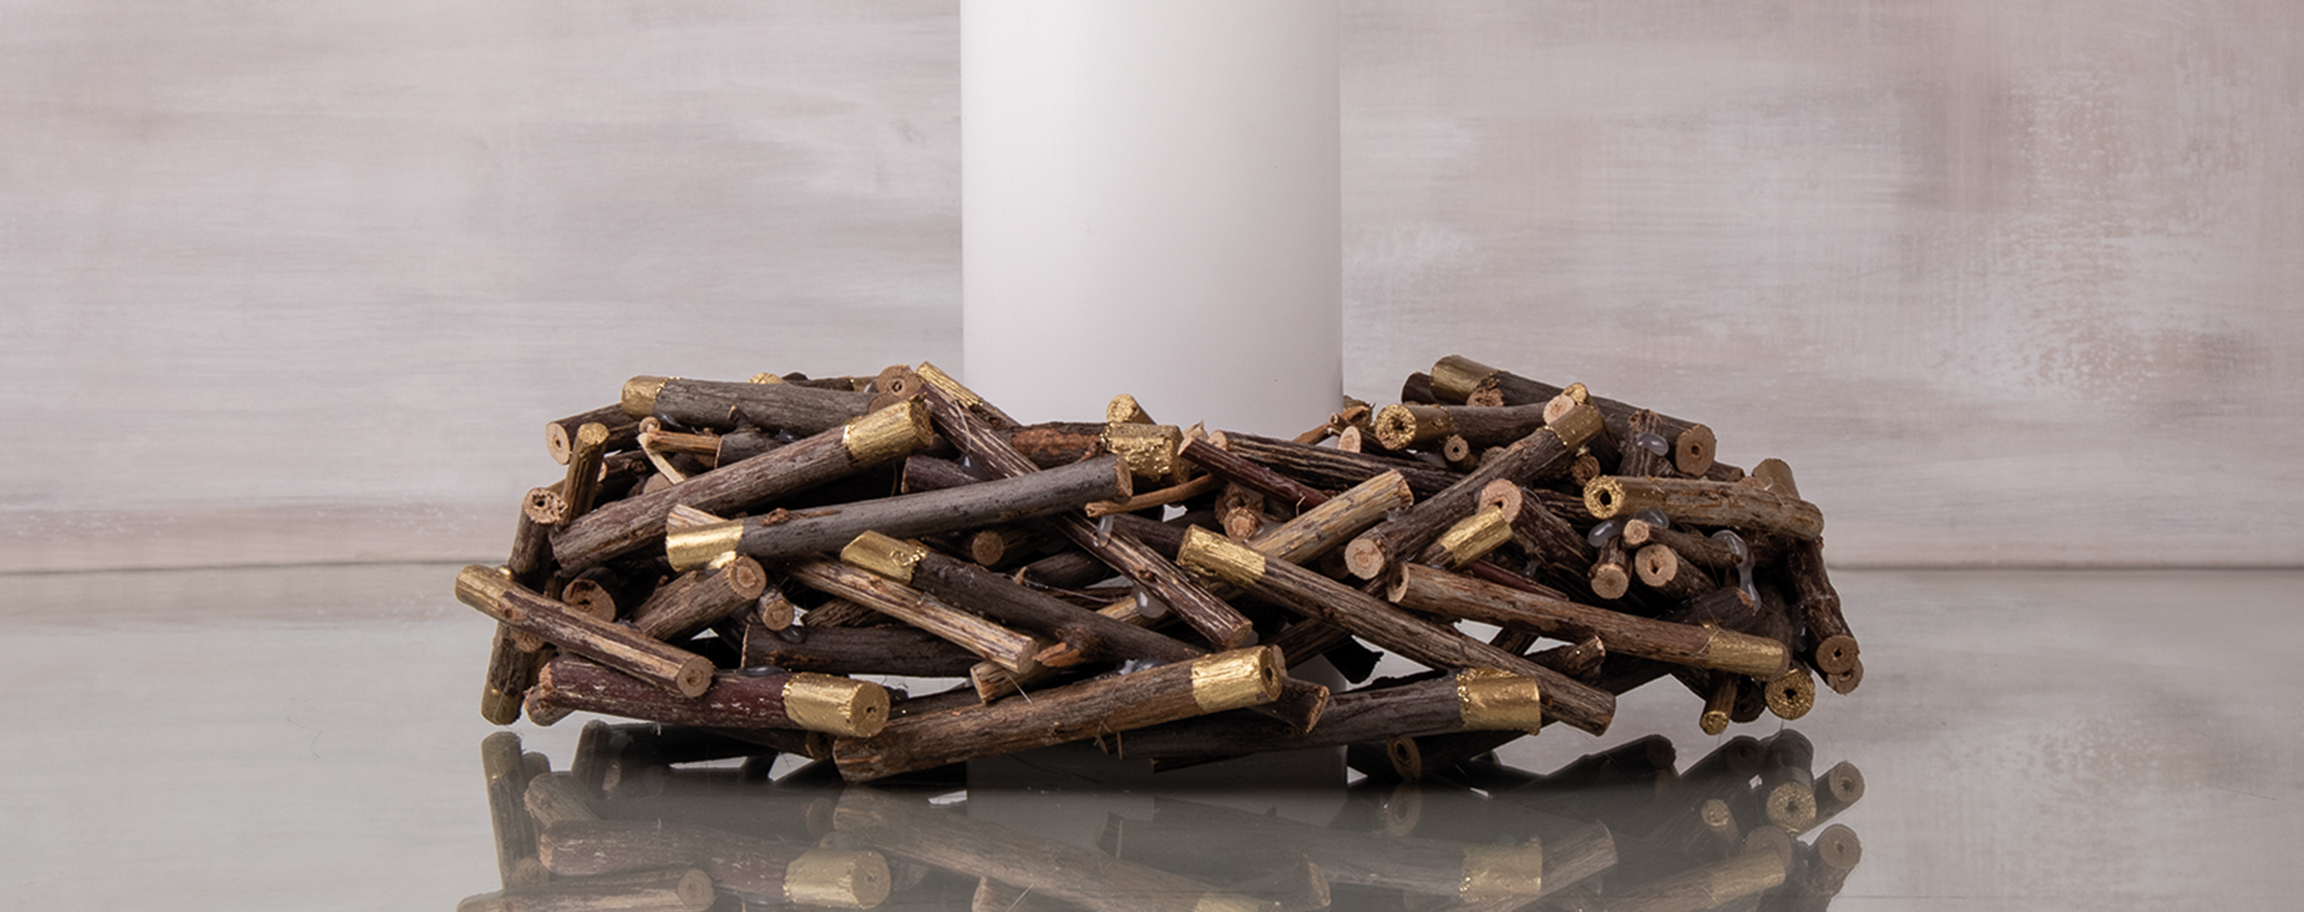
Decorate the wreath made by you with e.g. a candle inside a pretty bowl or use it as a door, wall hanging or room decorative wreath.Related craft ideas Looking for similar craft ideas? You can find them here: ![]()
![Difficulty -]()
![]()
![Difficulty -]()
![]()
![Difficulty -]()

Wooden log „Winter Wonderland“
DIFFICULTY


Pillar candle Gnome
DIFFICULTY

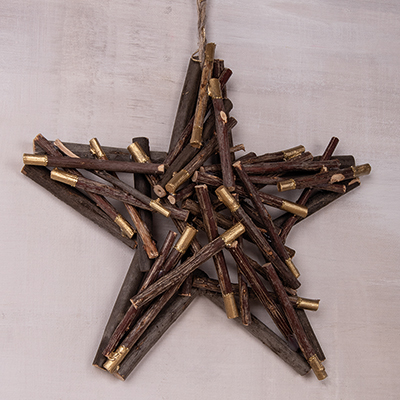
Twig pieces Star
DIFFICULTY