


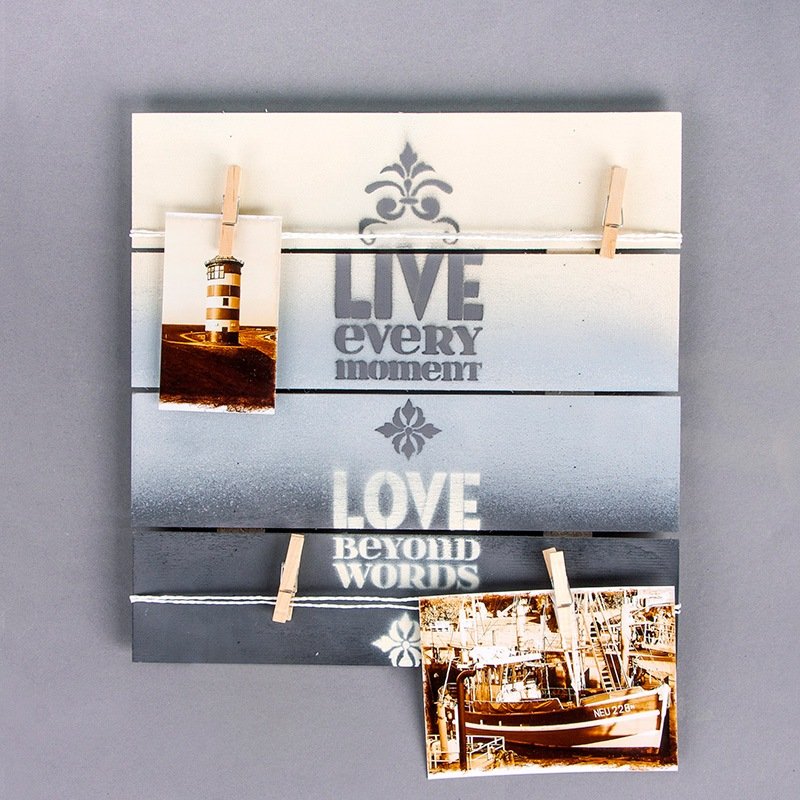


Instructions in 6 steps A very special colour gradient can be achieved by means of the Chalky Finish spray paint. Paper-covered cords and wooden clothes pegs turn this wooden slat wall panel into a memo board. And this is how it works:
1 ![]()

Step 1
Start by preparing the spraying process by shaking all of 4 cans. After shaking each of them about 3 minutes, the mixing balls should be clearly audible.2 ![]()
Step 2
At first, prime the wooden slatted frame with the primer Chalky Finish spray. Let it dry well out. Now spray, in a colour gradient from light to dark, starting with the Chalky Finish alabaster-white spray through Chalky Finish stone-grey spray up to the Chalky Finish anthracite spray. Spray horizontally at a distance of about 30 cm at the wooden slatted frame. Do it at best into the inside of an old cardboard box. Let it dry well out.3 ![]()
Step 3
Shake the Chalky Finish spray cans again.4 ![]()
Step 4
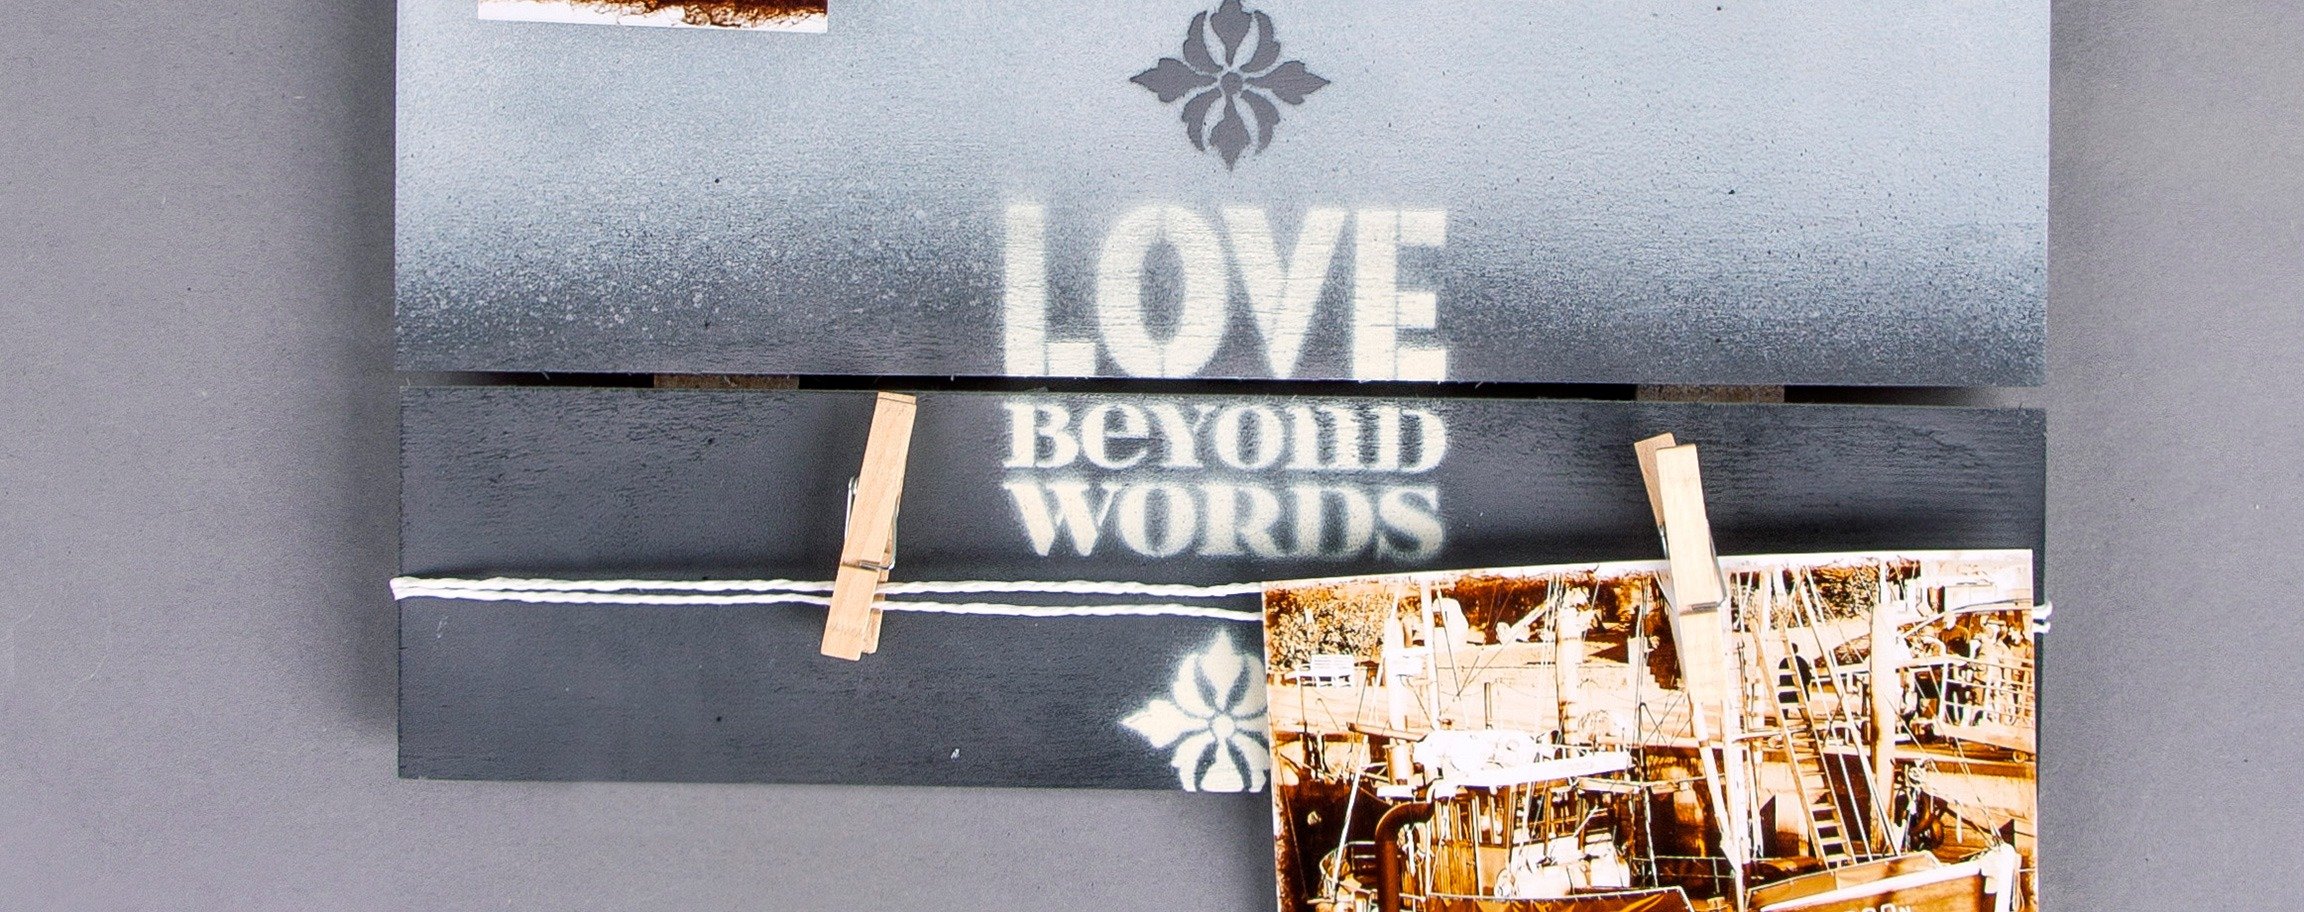
Spray the adhesive Spray non-permanent over the stencil “Lebe den Tag” and let it aerate for a while. Place the stencil centrically on the wooden slatted frame, starting with the stencilled motif at about 1.5 cm of the upper edge of the wooden slatted frame. Check that the template is positioned correctly on the wooden slats so that all the logos are clearly visible later. Cover the respective non-required area of the stencil with, for example, a disposable cardboard/paper.5 ![]()
Step 5
Spray at first darkly with the Chalky Finish anthracite spray onto the light area, then with Chalky Finish alabaster-white spray onto the dark, inner area over the stencil. Since all paints are water-based, the stencils can be cleaned with water directly after the stencilling process. Now, allow the paint to dry well out.6 ![]()
Step 6
Cut 2 x 2 m from the paper cord off, and wrap it twice around the woo-den slatted frame, at the upper & lower areas. At the back, knot the ends of the paper cord tightly. With the wooden clothespins, you can attach photos or postcards of your choice.Tip: After use, turn the can upside down and spray valve spray empty, so that it does not stick.
Related craft ideas Looking for similar craft ideas? You can find them here: ![]()
![Difficulty -]()
![]()
![Difficulty -]()
![]()
![Difficulty -]()
![]()
![Difficulty -]()
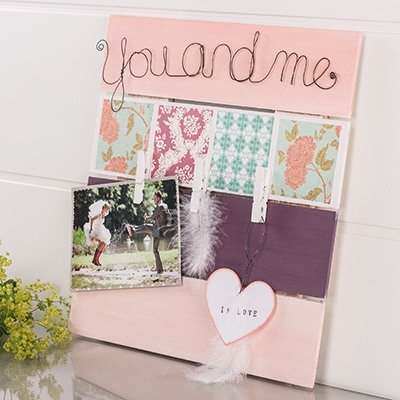
Wooden bar-frames "You and Me"
DIFFICULTY

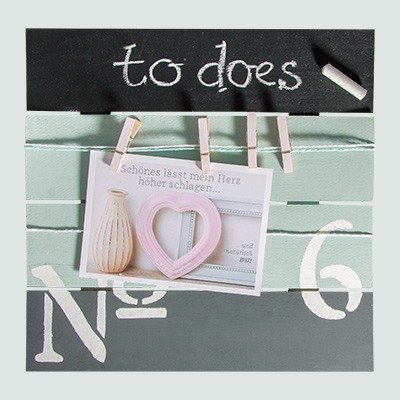
Chalky finish board mint green/anthracite
DIFFICULTY
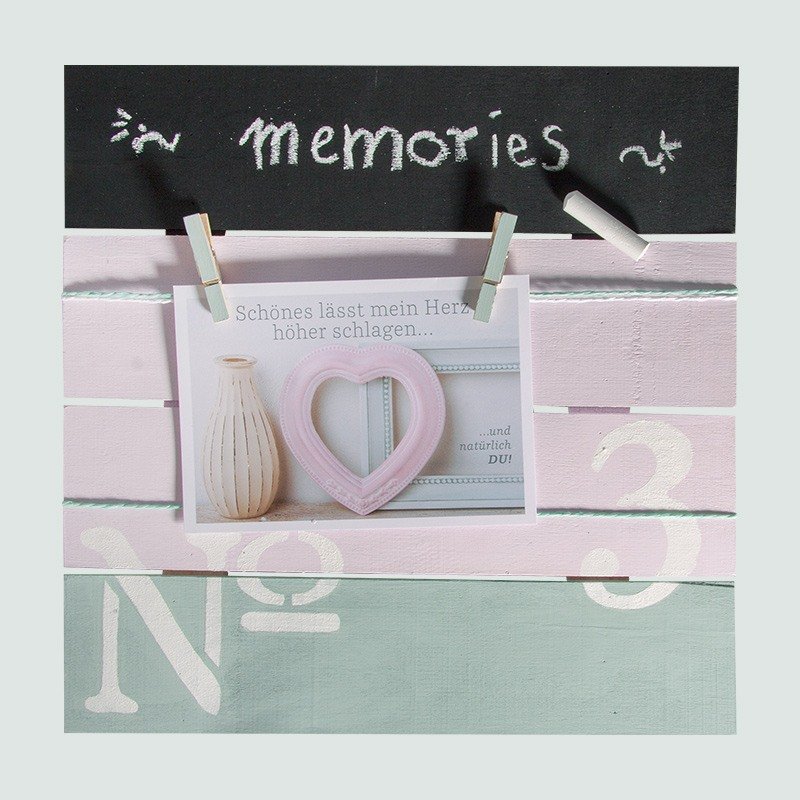
Chalky finish board pink/mint green
DIFFICULTY
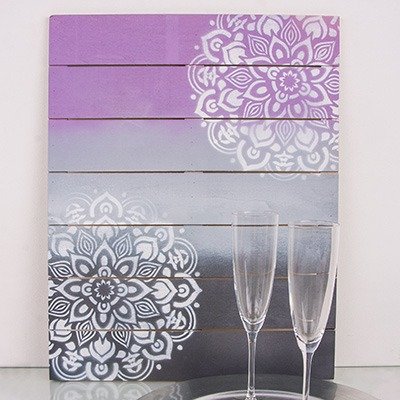
Frame out of wooden slats with Mandala
DIFFICULTY
