


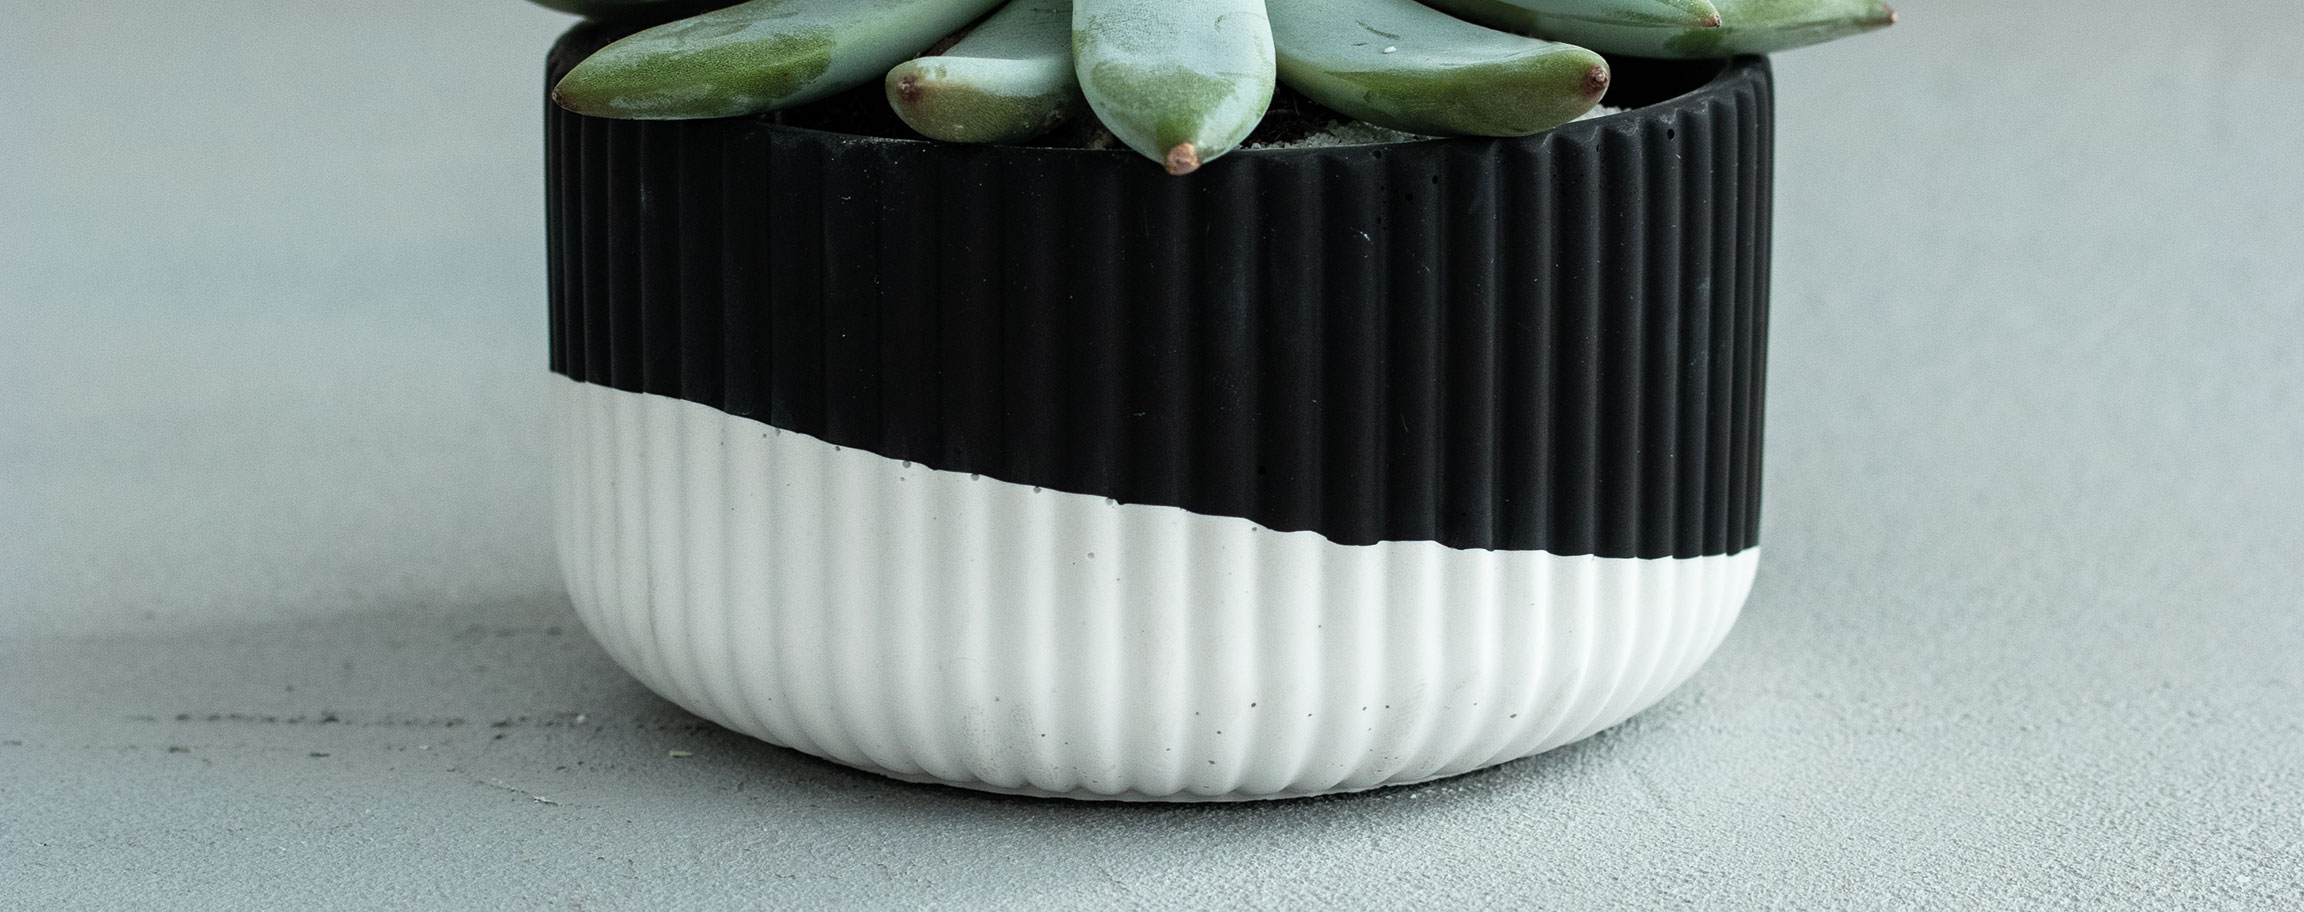
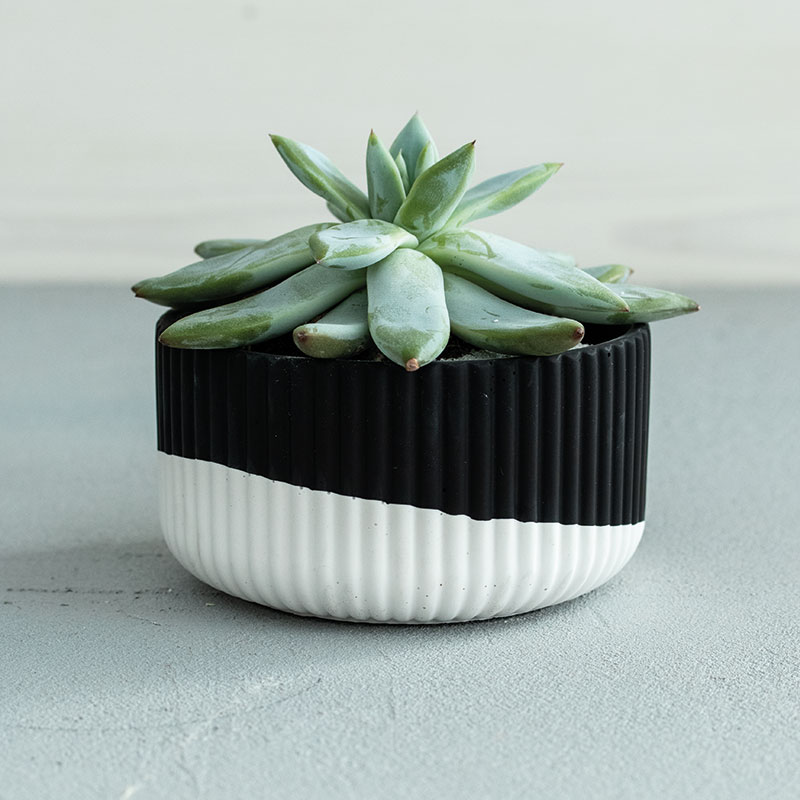


Instructions in 4 steps Black and white Raysin is poured into the silicone casting mould one after the other.
In this way, the layered look happens naturally.
Besides the articles listed below, you also need: Water, mixing vessel, sandpaper if necessary
And this is how it works: 1 ![]()
Step 1
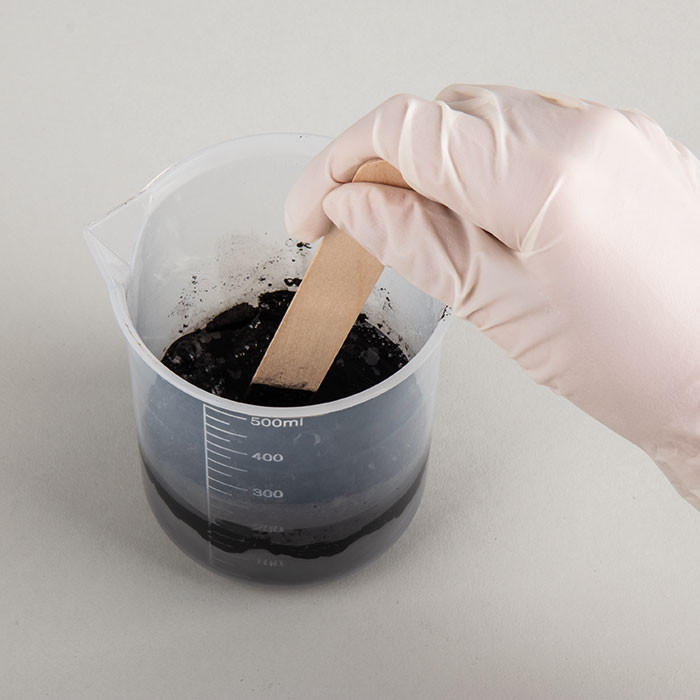
In the first place, mix the black casting powder Raysin with water as per instructions.2 ![]()
Step 2
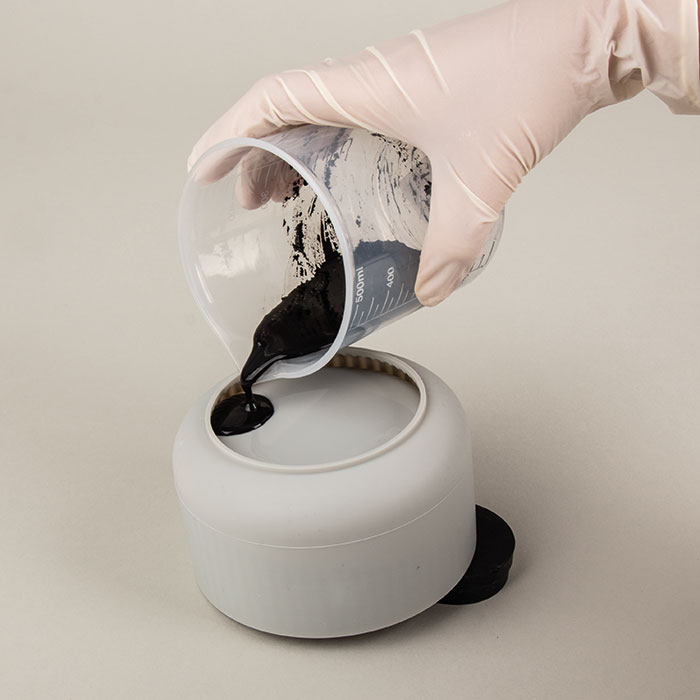
Now prepare the casting mould. Now fill it with the black casting powder Raysin and let it dry out for about 60 minutes. Leave the silicone mould in the tilted position, though.Tipp: If you bolster the casting mould on one side, you will get a sloping edge.
3 ![]()
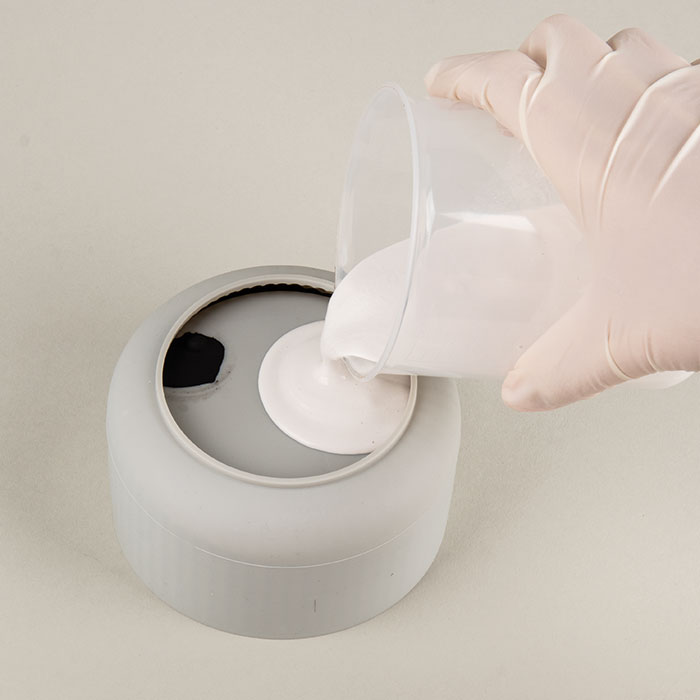
Step 3
Straighten the casting mould again. This time, mix the white casting powder Raysin with water (as per instructions) and pour it into the mould.4 ![]()
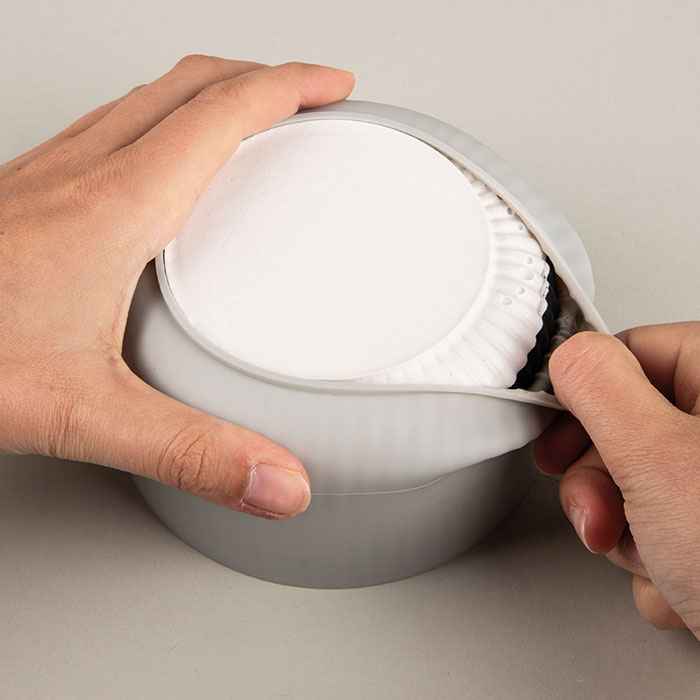
Step 4
The bowl can be demoulded after about 60 minutes. Allow your artwork to harden well, for several days at best.Tipp: Small imperfections or small areas of unevenness can be quickly and easily fixed with sandpaper.
Related craft ideas Looking for similar craft ideas? You can find them here: ![]()
![Difficulty -]()
![]()
![Difficulty -]()
![]()
![Difficulty -]()
Raysin coaster in black & white
DIFFICULTY

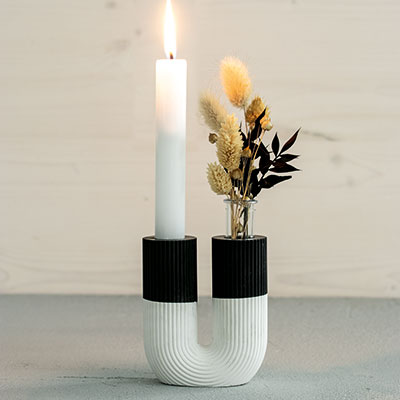
Black & white Raysin vase
DIFFICULTY
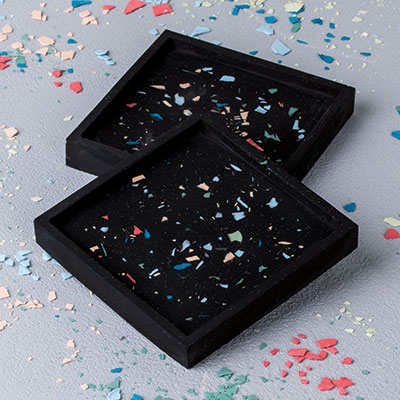
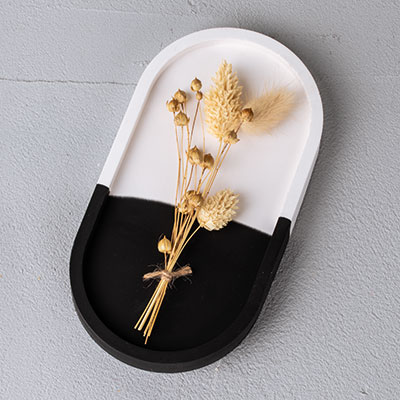
Black Raysin coaster in terrazzo look
DIFFICULTY