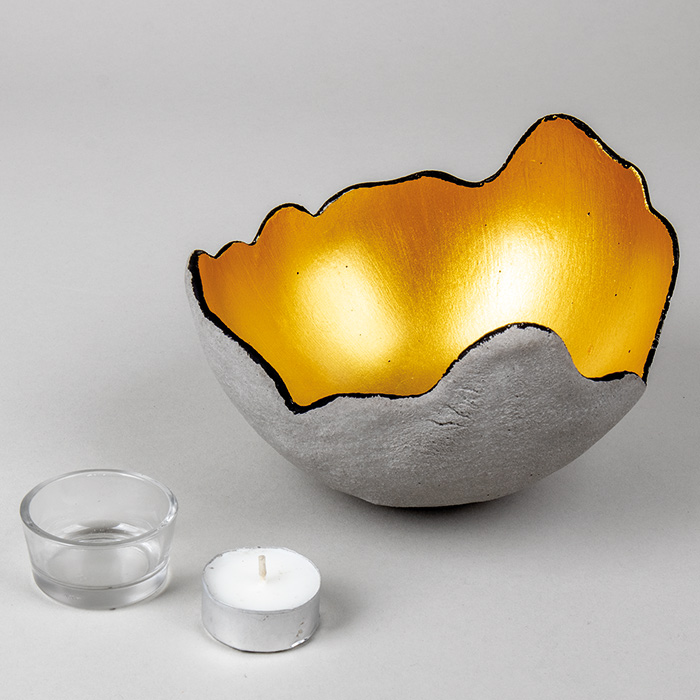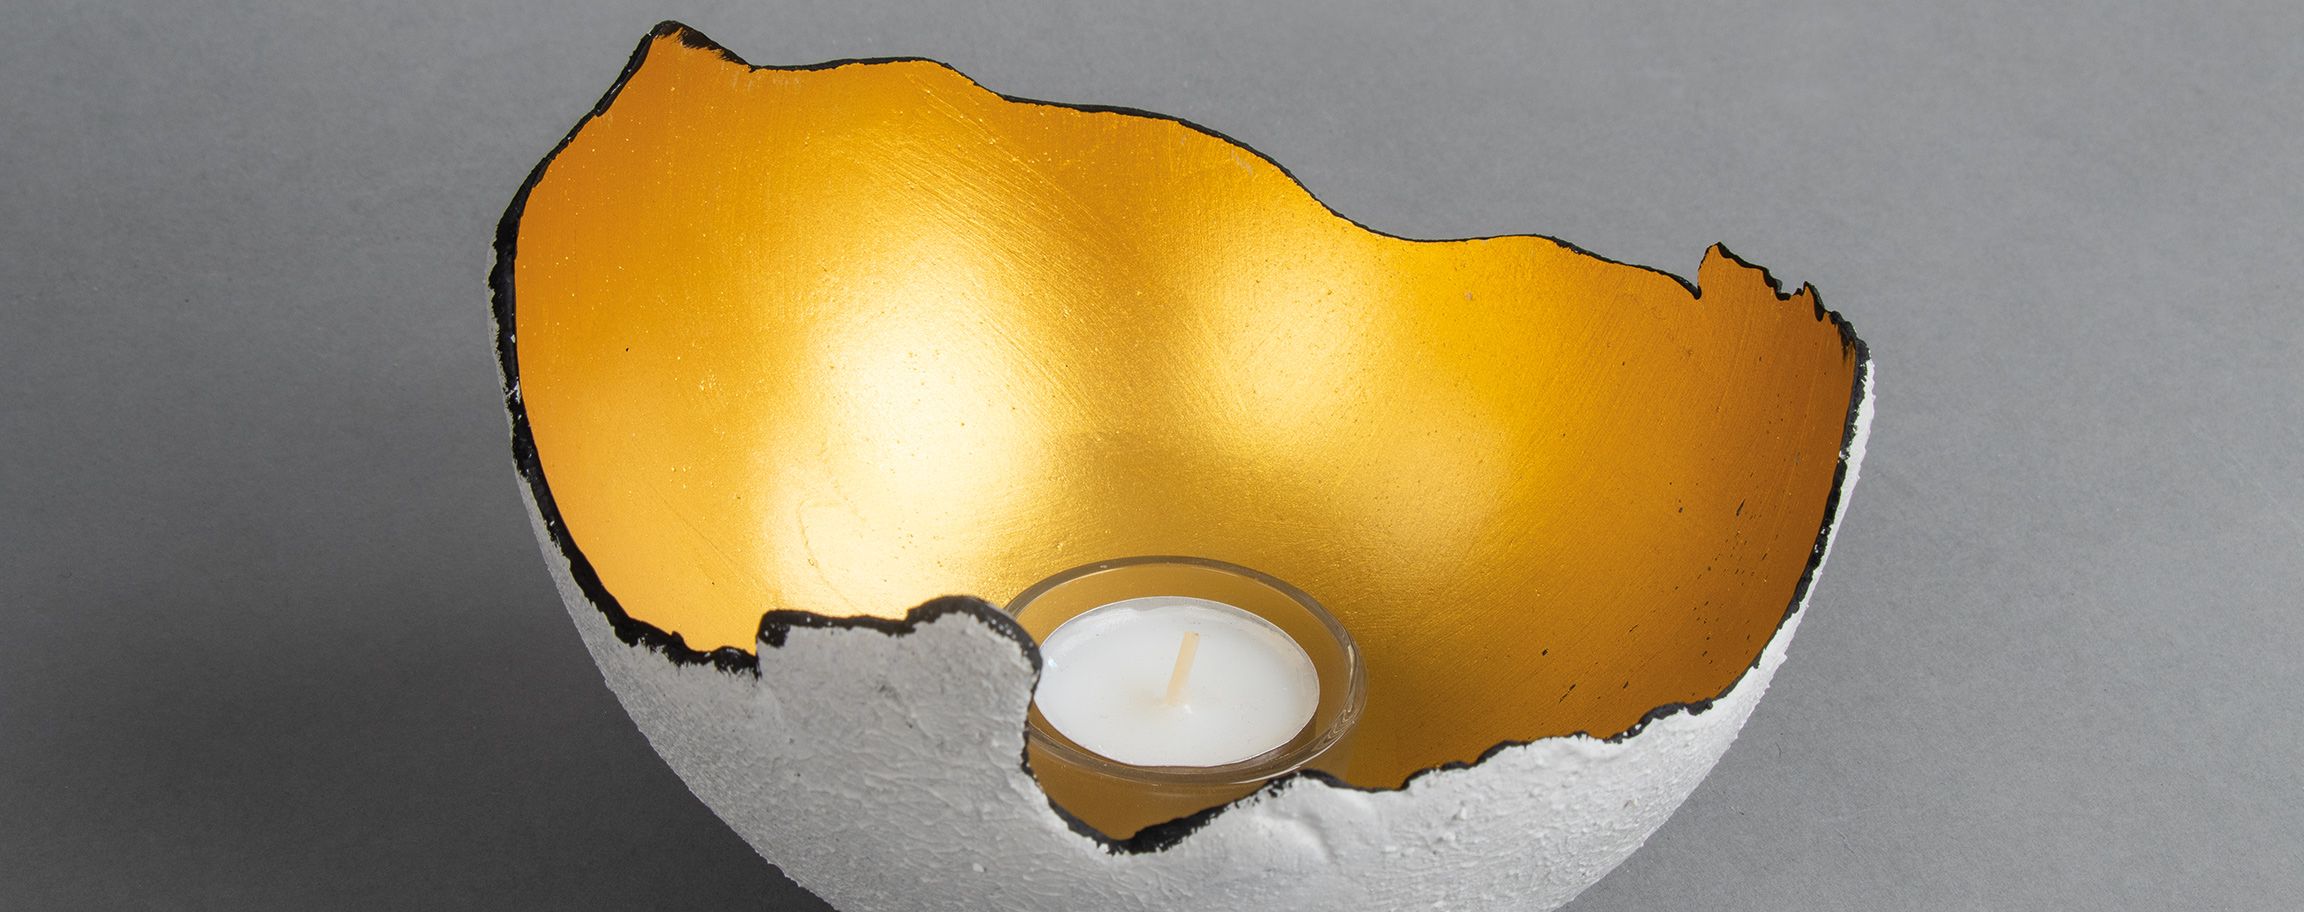
Instructions in 7 steps With the jack-of-all-trades among concretes, our 5-in-1 creative-cement, you can mould a chic concrete bowl by applying the cement mixture around a balloon.
Besides the articles listed below, you also need: Sturdy painting mat, mixing vessel, solid container as balloon stand, disposable gloves, kitchen roll, aluminium foil, scales, balloon, tealight
And this is how it works: 1 ![]()
Step 1
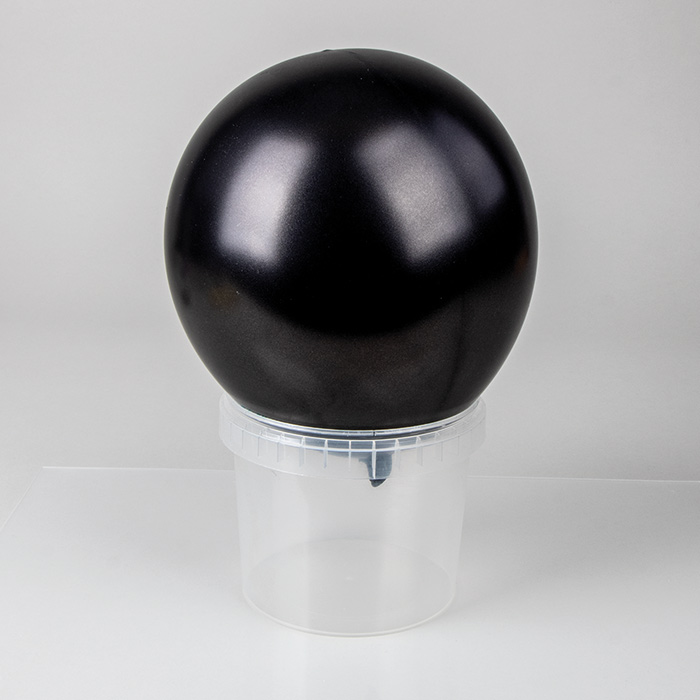
Inflate the balloon and knot it well so that no air escapes. Place the balloon on a suitable vessel in a stable manner with the knot facing down.2 ![]()
Step 2
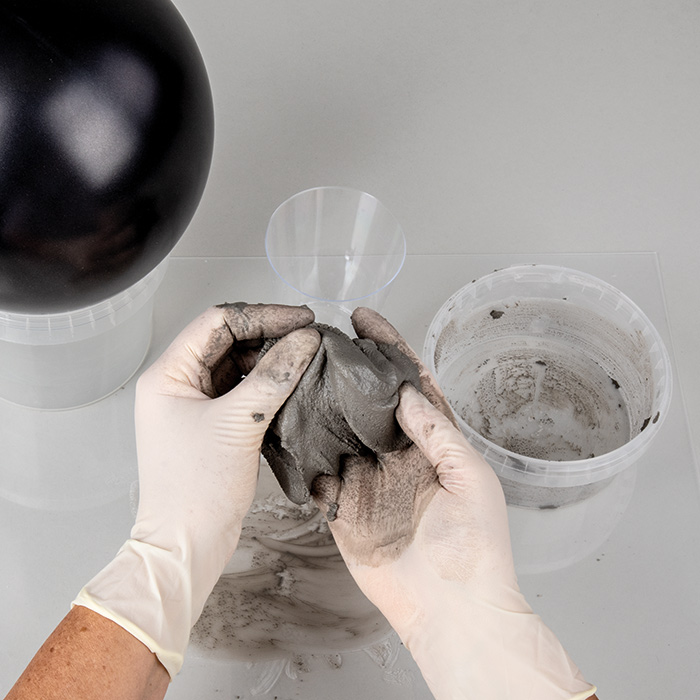
For the next step, use disposable gloves. Mix about 250 g of creativecement 5-in-1 with about 35 ml of water. When mixing, add the water slowly, little by little, while kneading continuously. Knead the crumbly mixture quickly, preferably on a mat (e.g. a sturdy painting mat), until it becomes easily mouldable.3 ![]()
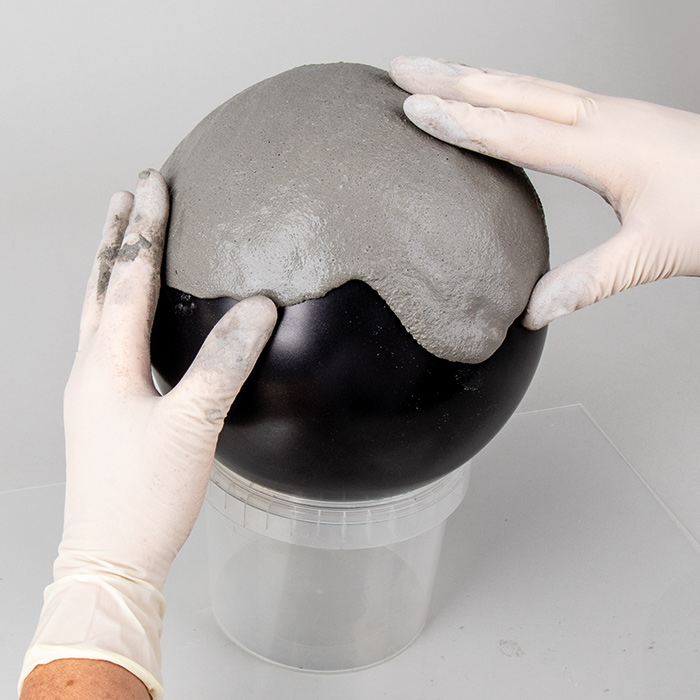
Step 3
Apply the cement mixture to the balloon with your hands and gently model the mixture around the balloon. The cement mixture develops a slight flowing motion, so you need to apply a little finger pressure. With a little help from the palms of your hands, spread the mixture irregularly over the balloon. This creates various and beautiful edges on the cement-bowl.4 ![]()
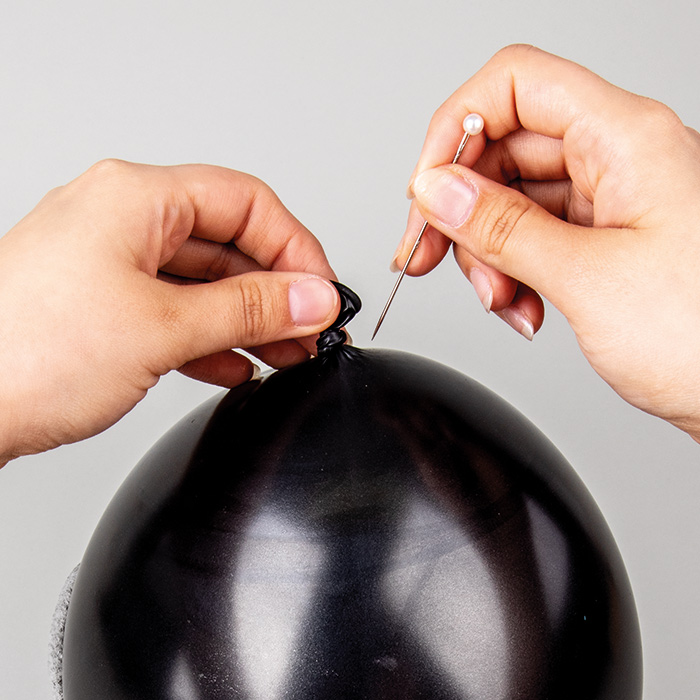
Step 4
Let the bowl dry out on the balloon for at least 2 hours (preferably overnight). Then you can let the air out of the balloon by piercing it with a small needle. Rub carefully down small, unwanted edges with sandpaper.5 ![]()
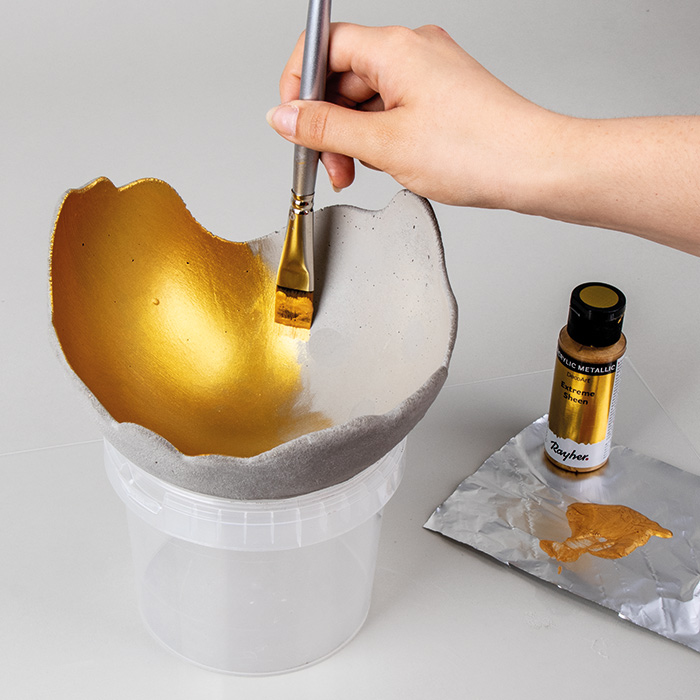
Step 5
Paint completely the inside of the cement-bowl with gold Extreme Sheen paint. A second paint coat may be recommended. Allow it to dry out.6 ![]()
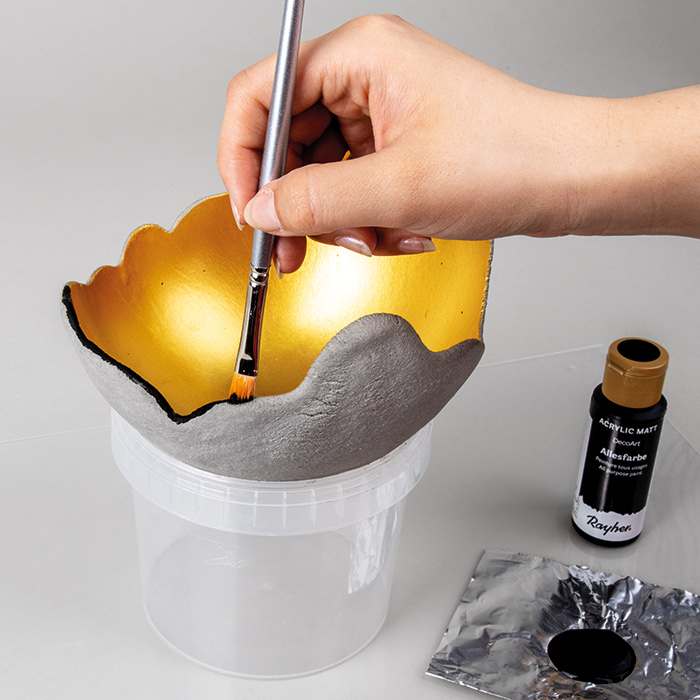
Step 6
Finally, paint the edging of your moulded cement-bowl with the black All-purpose paint and let it dry out once again.7 ![]()
