


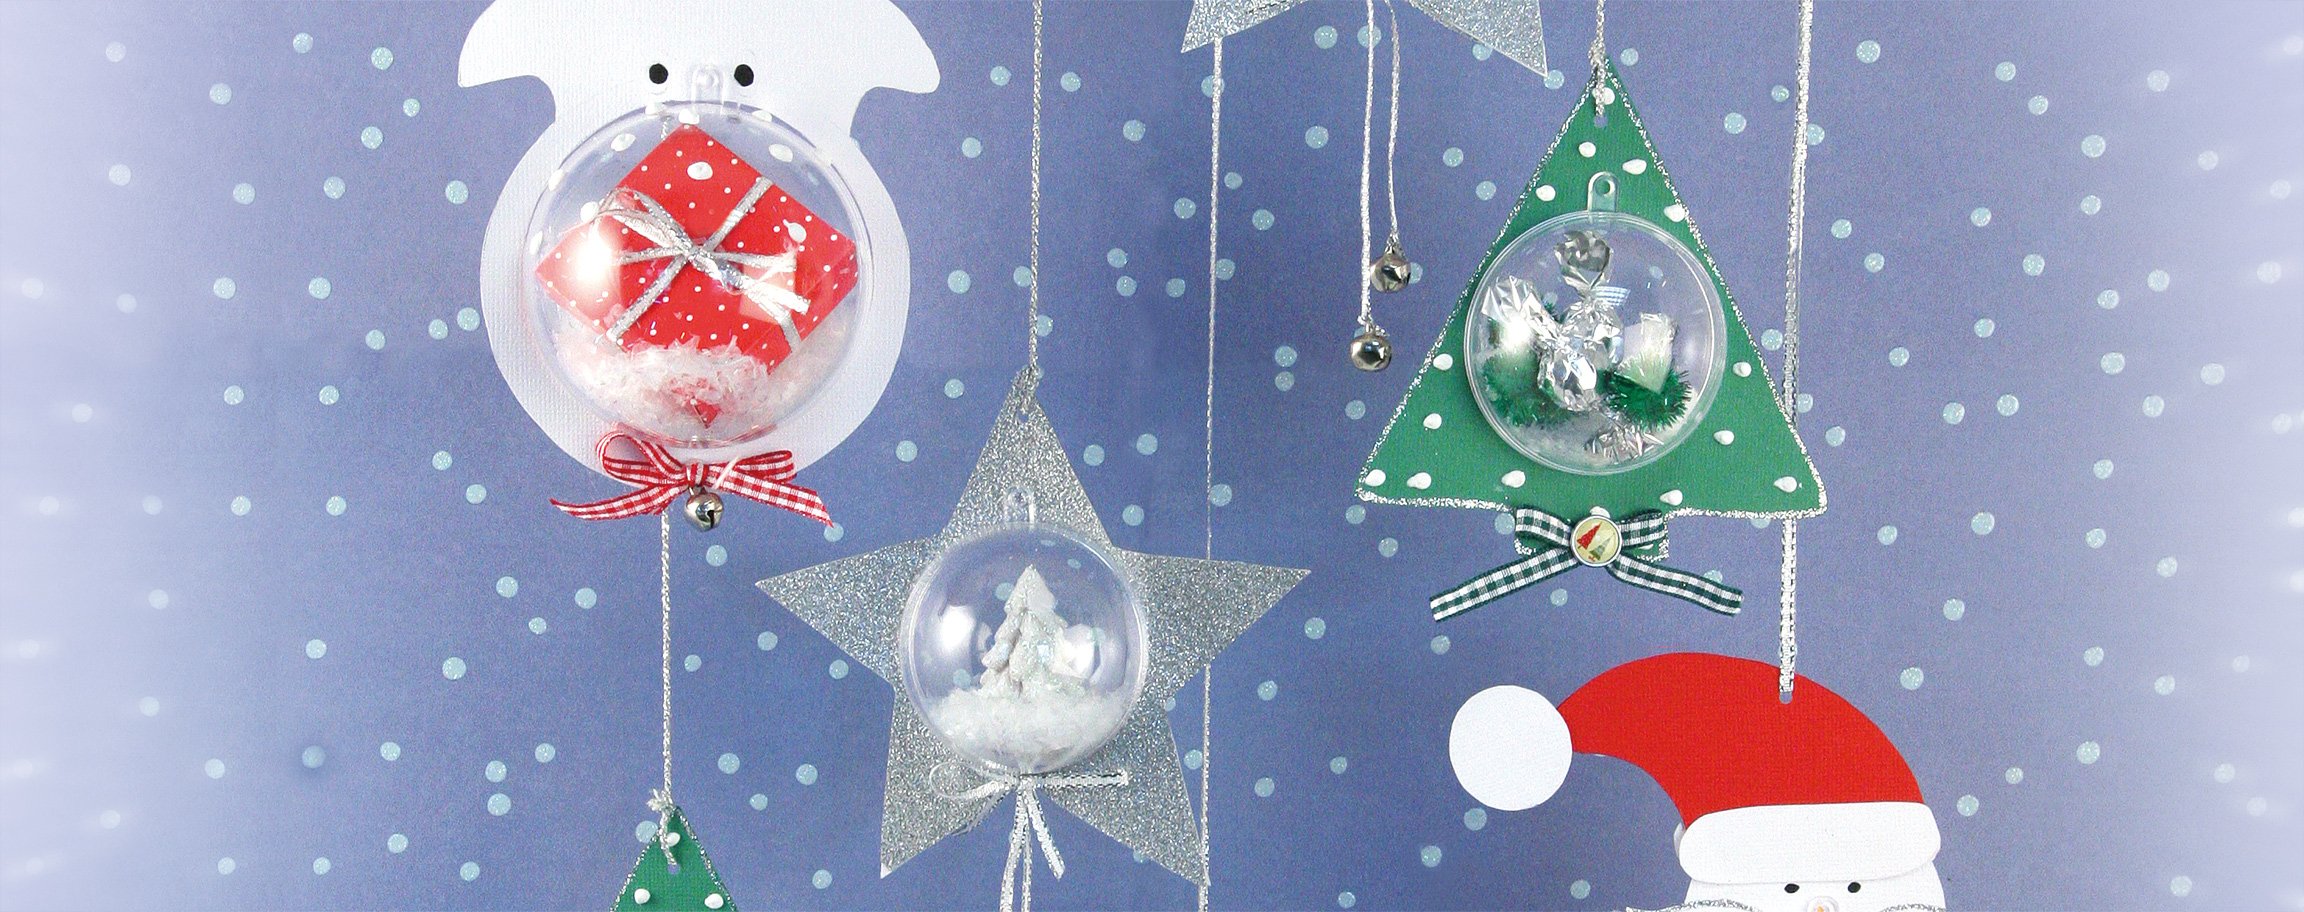
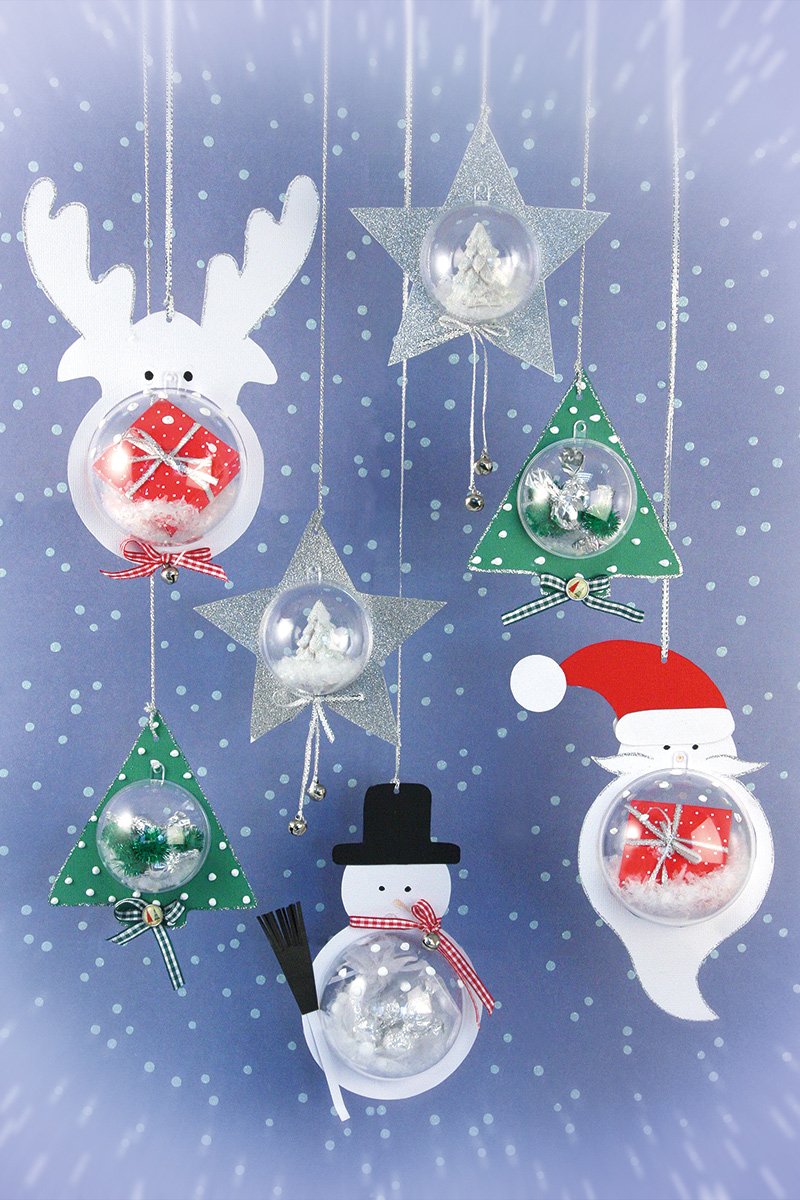


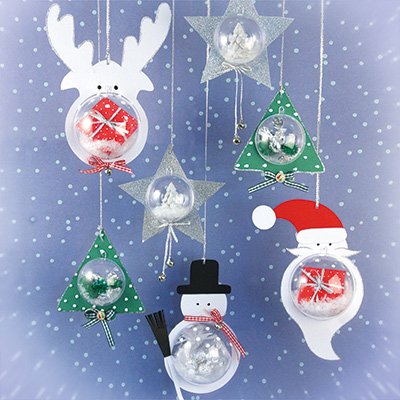
Instructions in 5 steps You can easily fill the small plastic balls with snowflakes, pompoms and small bells. A bit of glitter puts the snowy landscape into the limelight. And this is how it works:
1 ![]()

Step 1
Cut out the pattern and place it on the desired drawing paper. Trace the pattern and cut it out afterwards.The cutting pattern can be found in the PDF version of the craft idea. Just download it.
2 ![]()
Step 2
Decorate the external edges as you like with the glue stick quickie glue and glitter.3 ![]()
Step 3
To fill the plastic ball you can use decorative snow flakes, glitter, pompons, figures, gifts, etc. At first fill one half of the plastic ball as desired. Now insert the pre-cut drawing paper motive and close the plastic ball.4 ![]()
Step 4
Decorate the drawing paper motive with loop, bells, brads, etc. Speckle on the snow flakes with DecoArt Snow Pen and let the whole dry.5 ![]()
Step 5
Punch a whole with a ticket-punch and hang the finished ball up with a ribbon.Related craft ideas Looking for similar craft ideas? You can find them here: ![]()
![Difficulty -]()
![]()
![Difficulty -]()
![]()
![Difficulty -]()
![]()
![Difficulty -]()
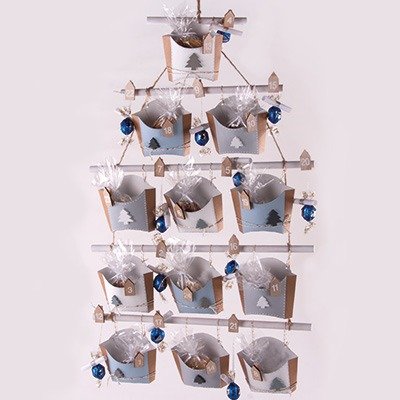
Advent calendar with cardboard-window shutter
DIFFICULTY

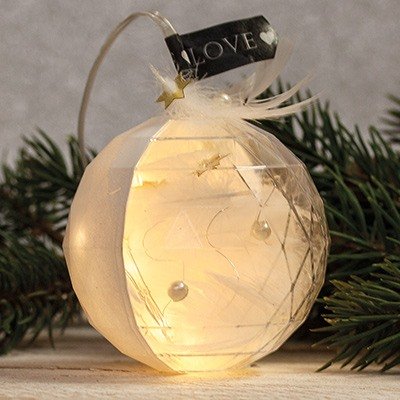
Faceted luminous ball
DIFFICULTY

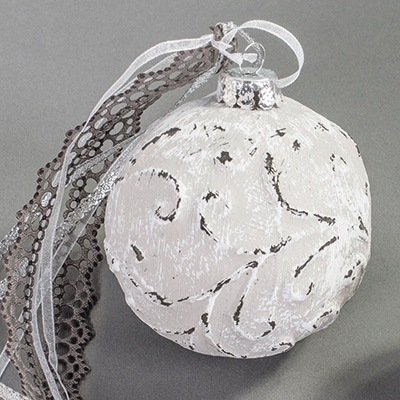
Glass sphere big in the vintage look
DIFFICULTY

Christmassy plastic balls 8 cm
DIFFICULTY