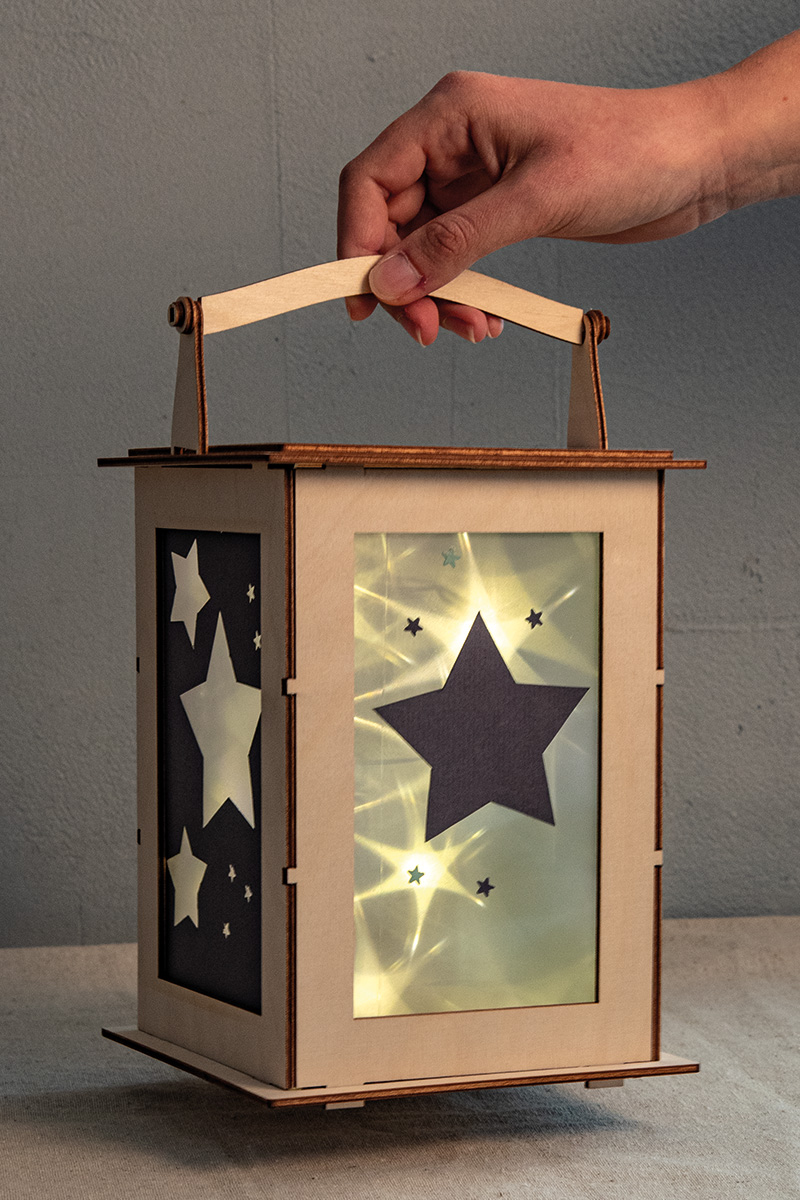
Instructions in 7 steps It's not just intended for St Martin's Day: this lantern will be your faithful companion
all winter long. It can be turned into one-of-a-kind decoration using effect-foil,
colourful cardstock and motif punchers.
Besides the articles listed below, you also need: Scissors
And this is how it works: 1 ![]()

Step 1
Cut 4 cuttings out of 3D star-effect foil, each measuring 12 × 19 cm.2 ![]()

Step 2
Make a cutout measuring 12 × 19 cm from the slate grey card and one of the same size from the mint green card.3 ![]()

Step 3
Punch out stars from the previously made cuttings using both star motif punchers.4 ![]()

Step 4
Glue each 3D star-effect foil cutting behind each coloured cutout.5 ![]()

Step 5
Glue a cutting on each of the 4 wooden sides of the lantern.6 ![]()

Step 6
Assemble and glue the lantern by following the instructions.7 ![]()

Step 7
To finish, stick the cut-out stars onto each side of the 3D star-effect foil.Tip: If you want to put a string of lights in the lantern, it's best to roll it up on a transparent roll. The best solution for the roll would be an acetate sheet or a clear glass that matches the inner size of the lantern. Wind the string of lights around the roll or glass and place it in the middle of the lantern.


