


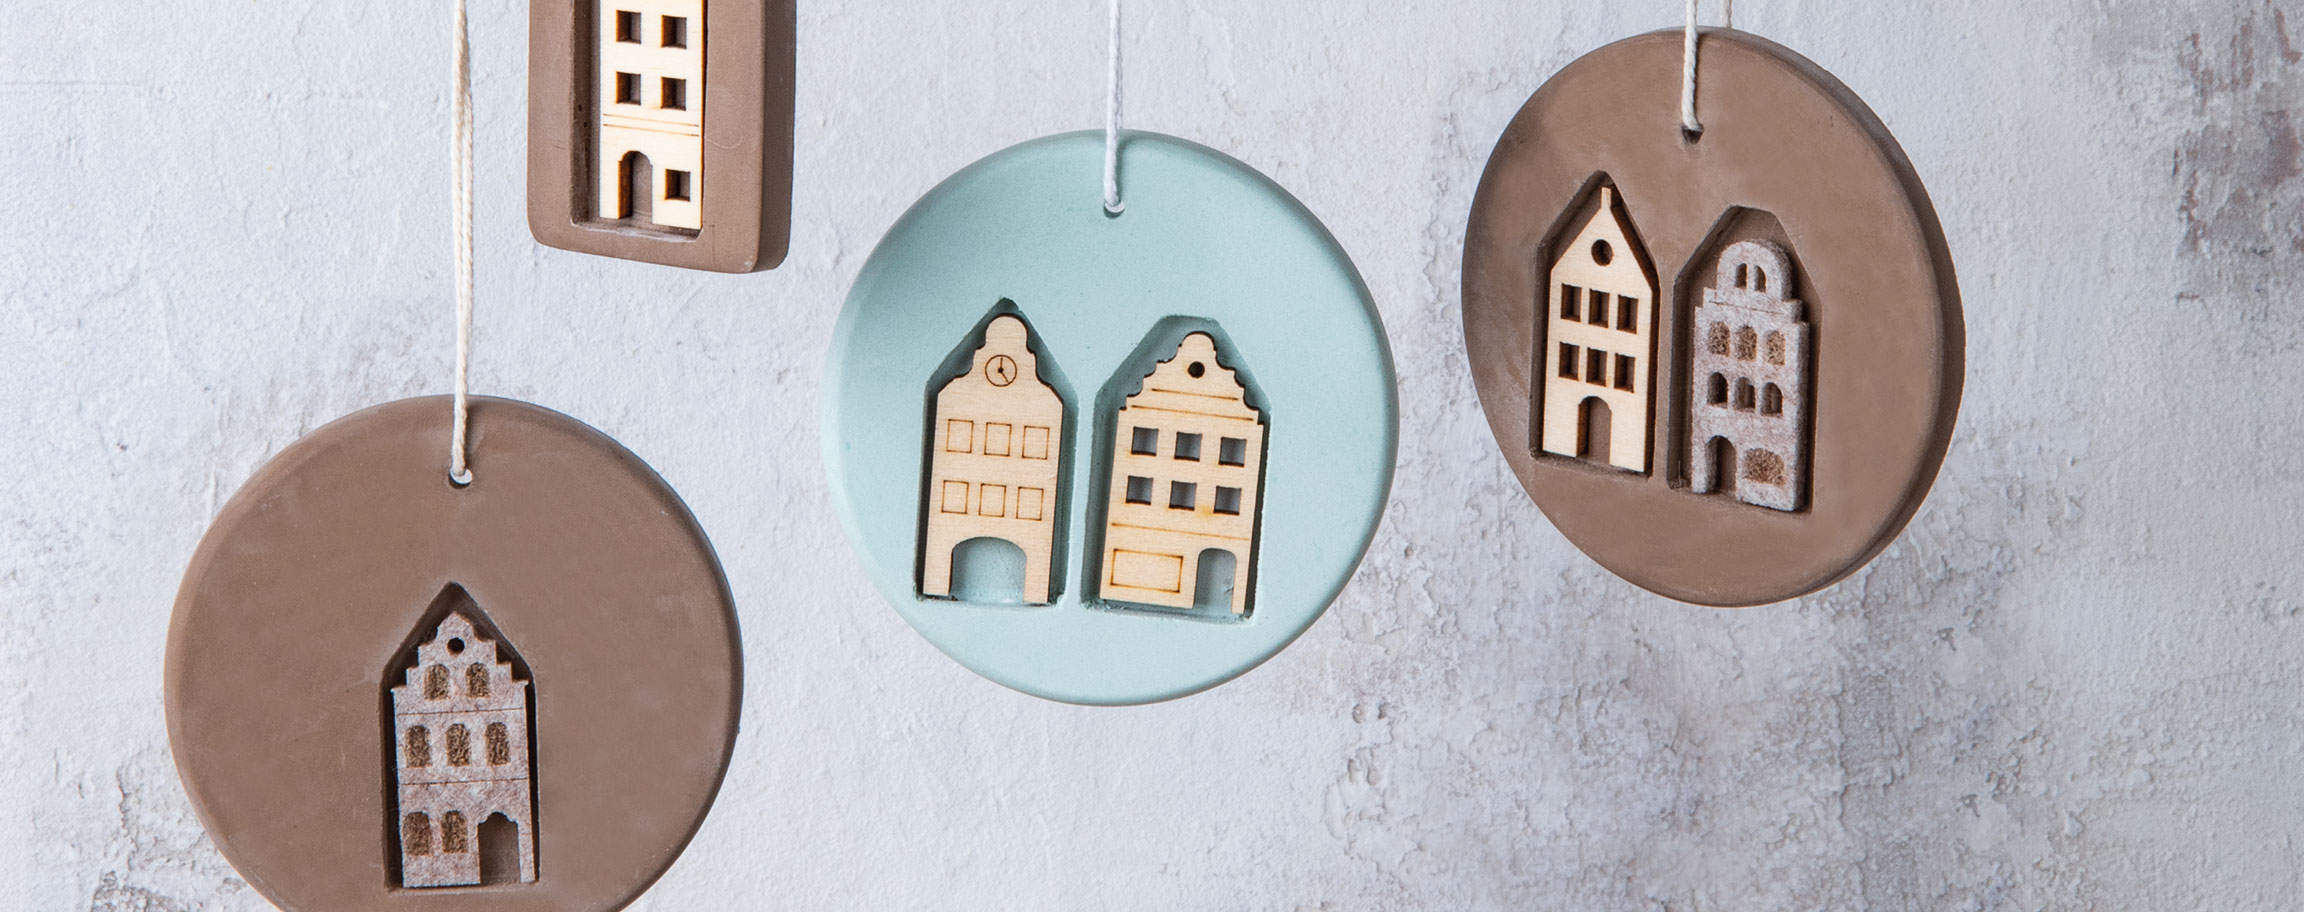


Instructions in 5 steps The casting moulds with the Nupsi placeholders inside are filled with a thin layer of Raysin casting compound and provided with a hole for later suspension. Once the castings have dried completely, the corresponding wooden and felt shapes are simply glued on.
Besides the articles listed below, you also need: Mixing vessel, poss. sandpaper, wooden spatula, scissors, wooden stick, tape, double-sided adhesive tape, tweezers or needle
And this is how it works: 1 ![]()

Step 1
Prior to casting, prepare the casting moulds with the Nupsi placeholders as advised. Stick a few pieces of double-sided adhesive tape to one side of the Nupsi placeholder. Then remove the protective foil from adhesive tape and place the Nupsi placeholder at the bottom part of your casting mould. Leave clear space of at least 1 cm from the bottom rim. In addition, place a wooden stick vertically on the top of the casting mould and tape it in place. This provides a hole for suspension.2 ![]()
Step 2
Mix Raysin casting powder according to the instructions on the pack. You’ll need about 40 g of Raysin per circle and about 20 g of Raysin per house.If you want coloured castings, mix Raysin powder with the colour pigment of your choice. To get the taupe-coloured shade, mix together the colour pigments tangerine and anthracite.You'll need more water in that case.Advice: To start with, pour in only half the amount of water and stir in the colour pigments until well mixed. Pour the mixed casting compound slowly into the already prepared casting mould. Wait at least 1 hour before demoulding the house.
3 ![]()
Step 3
Carefully remove the Nupsi placeholder from the cast piece using a small needle or tweezers.4 ![]()
Step 4
Allow the castings to dry overnight. If necessary, sand down the edges.5 ![]()
Step 5
Glue the matching Nordic Houses wooden and felt shapes in the gaps, then string the macramé yarn through the hole.Related craft ideas Looking for similar craft ideas? You can find them here: ![]()
![Difficulty -]()
![]()
![Difficulty -]()
![]()
![Difficulty -]()
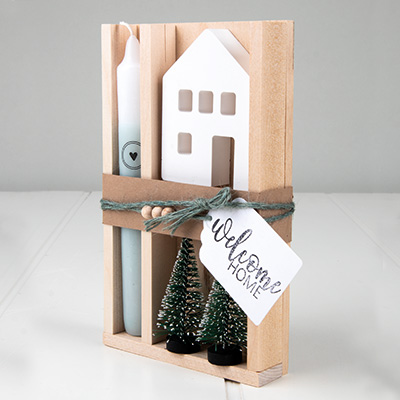
Wooden tray with house and candle
DIFFICULTY

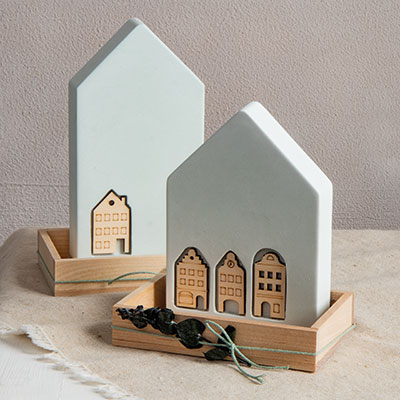
Nordic houses with Nupsis
DIFFICULTY
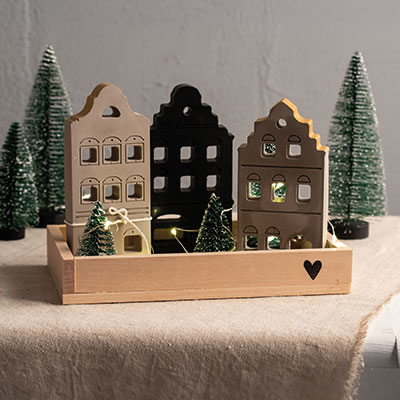
Christmas nordic houses
DIFFICULTY
